Change Duration of Multiple Images in One Go in Final Cut Pro

This tutorial will work in most recent versions of Final Cut Pro. Just follow the steps below or watch the video and away you go!

Whether you have 10 image, 100 image or 1000+ images this technique will allow you change the duration of multiple images on the timeline in one go. This is great for getting the timing of a slideshow presentation right without having to individually edit files. We walk through how to do this on the main storyline and on a connected storyline. This question is from Gaasm’s comment on the tutorial Final Cut Pro: Import an Animated GIF with Transparency .

Step-by-step process – change multiple clip durations

  1. Click anywhere on your timeline
  2. CMD + A which will select all your images (they should all outline in yellow). If you only want to select a few use the SHIFT or CMD modifier and click on the clips that you want to select.
  3. CTRL + D will select the duration option for all the clips you have selected.
  4. Type in 4.00 (4 seconds and 0 frames) or another value for example 2.15 (two seconds and 15 frames) and click enter.

Full Final Cut Pro Introduction on Skillshare

Looking for my full intro to Final Cut Pro you can find it here on Skillshare – https://skl.sh/2BTUvhy .


TEXT MESSAGE 2 for Final Cut Pro X

A fully-featured set of exclusive FCPX text message plugins to emulate texting apps like iMessage & Facebook Messenger, create your own designs, or choose from 8 custom presets. Text Message automatically scales the text message bubble and advances previous messages. This is a HUGE update with TONS of new features, functionality and presets! Buy it here >>

The YouTuber Pack 3.0 for Final Cut Pro

Youtubers! This is your complete pro-Kit for your channels, use it in Final Cut Pro and Apple Motion! We’ve reworked the entire underlying logic so Final Cut Pro-only-users can benefit from this amazing pack in a breeze! Check out The YouTuber Pack 3.0 here.

My Favourite Shortcuts in Final Cut Pro – list & examples

About this list

This list is not just as a technical list of all the shortcuts in Final Cut Pro. This list will also include examples of where I regularly use those shortcuts. If you have suggestions for shortcuts that you use a lot then drop me an email or message in the Free Final Cut Pro X Tutorials group on Facebook. Happy editing!

Continue reading My Favourite Shortcuts in Final Cut Pro – list & examples

Free Custom Editable Rectangle Plugin for Final Cut Pro

Have you ever wanted to create an editable rectangle in Final Cut Pro but struggled to use the built-in tools? This rectangle plugin solves that problem. With editable borders, colour and the ability to round off edges this will be a great addition to your suite of basic shape tools in Final Cut Pro.

Continue reading Free Custom Editable Rectangle Plugin for Final Cut Pro

Creating Memes with Photoshop: A Step-by-Step Guide

In this tutorial, we’ll guide you through a simple process of turning a photo of an adorable dog picture into a meme using Photoshop. The steps involve cutting out a photo, creating vector-based layers for the background, and adding text. Let’s break it down.

  1. Prepare the Canvas: Start by creating a new file with dimensions 600×600 pixels, suitable for web use. Ensure the background is white for ease of work.
  2. Cutting Out the Image: Use the polygonal lasso tool to carefully cut out the dog image. Create a layer mask for flexibility in editing later.
  3. Creating the Background: Generate a visually appealing background using the polygon tool. Manipulate the shape by adjusting the points and overlap for a dynamic pattern.
  4. Adding Depth: Apply a drop shadow to the dog’s layer to give the image depth, making it stand out from the background.
  5. Inserting Text: Use the type tool to add text to your meme. Play with fonts and sizes, and apply effects like strokes for emphasis.
  6. Final Touches and Export: Fine-tune the composition, duplicate layers as needed, and add any final details. When satisfied, save the meme as a high-quality JPEG for online sharing.

This quick tutorial is perfect for creating memes for social media platforms like Instagram. Whether you’re a Photoshop novice or looking for a refresher, these steps will have you creating engaging memes in no time. Happy meme-making!

Final Cut Pro | Split Screen Fundamentals Using Scale, Crop & Layers

Explore the art of split screen creation using Final Cut Pro without breaking the bank. These curated tutorials cover classic 4-Up, before and after, diagonal, and blended split screens, utilizing built-in tools or the excellent Splitz 2 plugin by BretFX. Elevate your projects with professional visuals and learn techniques to enhance your editing skills. Join in discovering the diverse possibilities of editing with Final Cut Pro.

Split Screens in Final Cut Pro

Classic 4-Up Split Screen

Create a classic 4-Up split screen with the built-in-tools in Final Cut Pro. A great tutorial for editors on a budget who need to create pixel perfect split screens.

Create a Before and After Split with or Without a Plugin

Create a cool before and after, animated, split using Final Cut Pro’s cropping features or the BretFX Quick List plugin.

Diagonal Split Screen

Using Final Cut Pro’s built-in Draw Mask Tools create this excellent animated diagonal split of two videos. A creative use of the tools that all Final Cut Pro editors have at their disposal.

Blended Two Videos Seamlessly

This video used a smart selection of footage and tools to blend two pieces of video together without any dividing lines. Very cool for a smooth and professional look for your creative content.

BretFX Splitz 2 Plugin

My favourite tool for creative, animated splits and one of the best out there on the market. Splitz 2 from BretFX is an excellent addition to any editors suite of plugins.

Get in touch

I am excited to share a series of tutorials on split screen editing using Final Cut Pro! From classic layouts to dynamic arrangements, these tutorials cover various techniques to enhance your editing skills. Whether you’re a beginner or a seasoned pro, there’s something for everyone. We’d love to hear your thoughts and feedback at design@benhalsall.com. Join us in exploring the possibilities of split screen editing!

Photoshop One: Core Skills

Getting started with Photoshop?

  • Want to refine your self-taught skills to really make your businesses images pop?
  • Need to create content for social media platforms like Instagram & Facebook?
  • Want to know how to remove some of those unwanted elements from your photos?
  • Need to improve the contrast and colour of those darker images?
  • Looking for a course that can adapt to your organisations design needs?

Photoshop One: Core Skills will introduce the key concepts central to image manipulation and design with Adobe Photoshop. You will learn to work with layers, create transparency, design with type, colour correct images and cover techniques for outputting for the web, video or print.

Continue reading Photoshop One: Core Skills

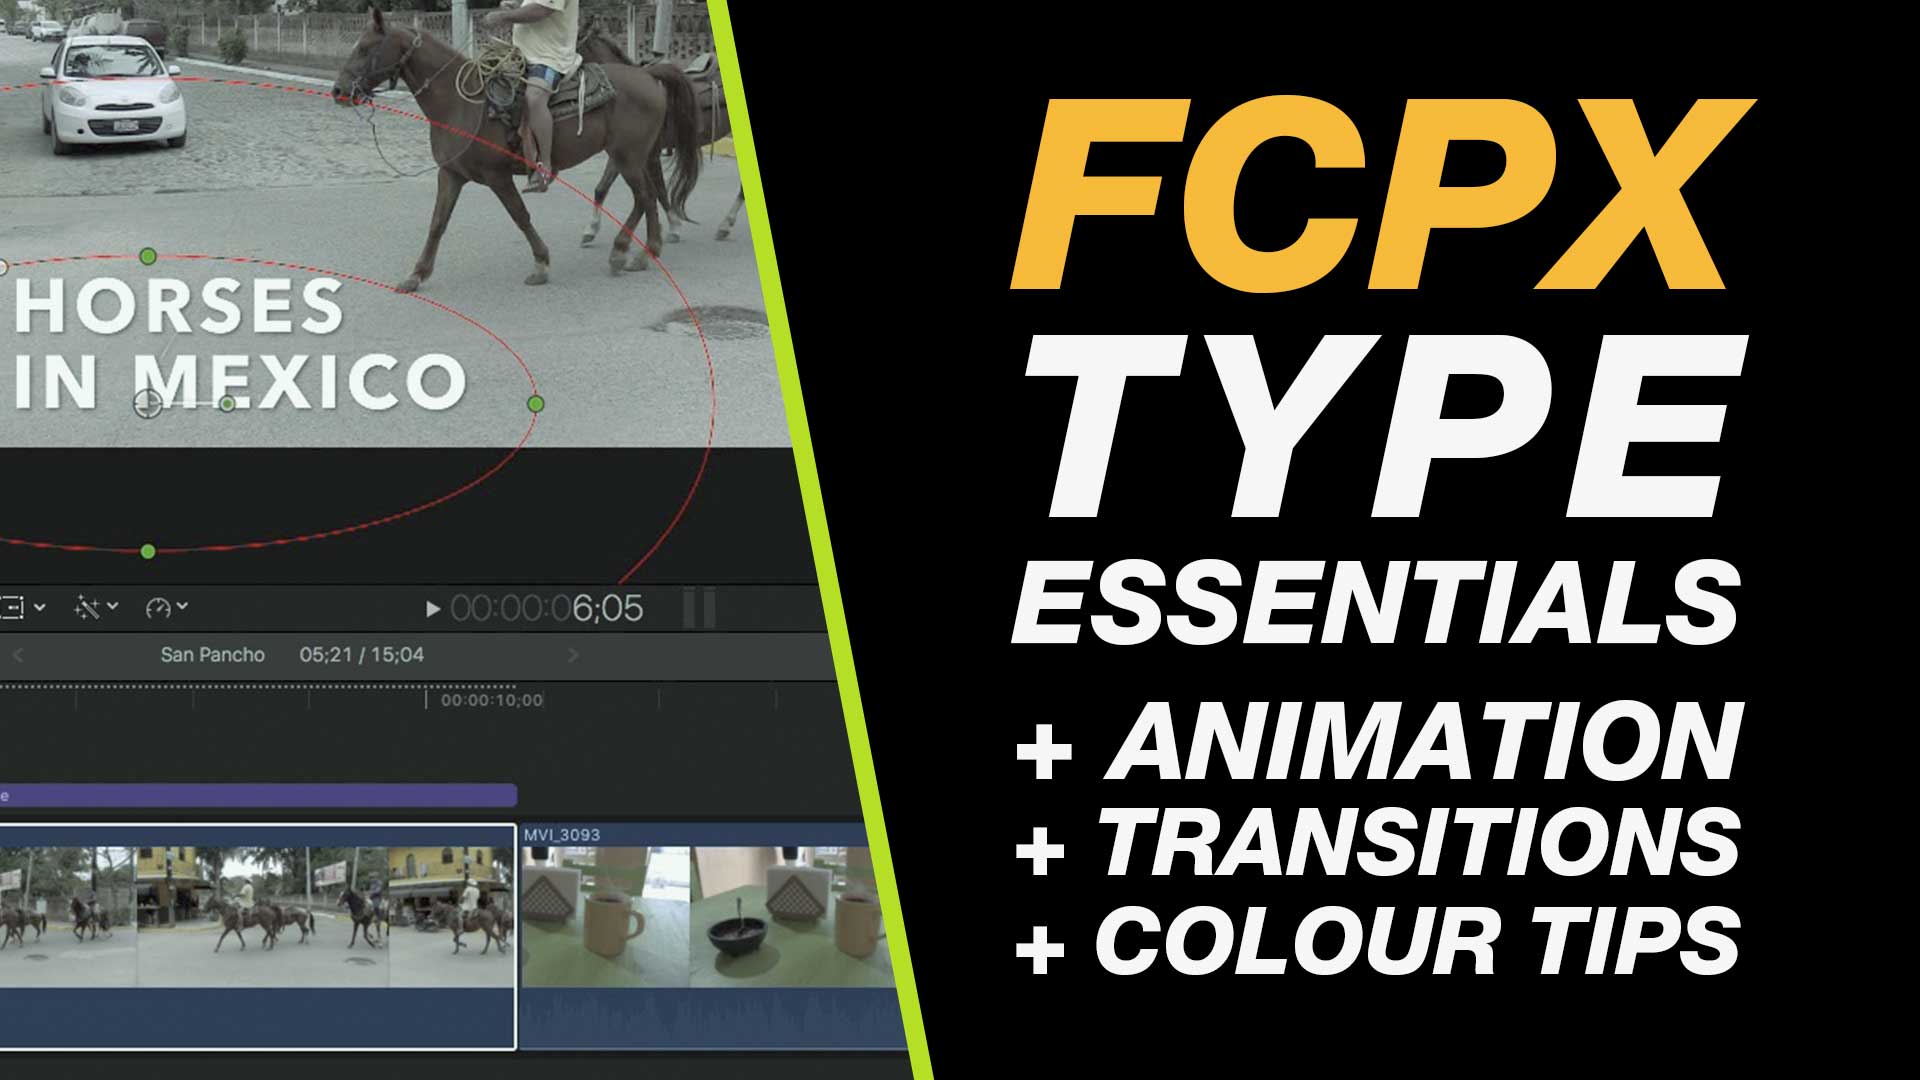
Final Cut Pro Tutorial | Creating and Animating Type

Video editing enthusiasts often encounter challenges when it comes to effectively positioning text in Final Cut Pro. In this tutorial, we’ll explore the intricacies of adding and positioning type in Final Cut Pro, unraveling the complexities and providing insights into creating visually appealing text overlays.

1. Accessing Basic Titles:

To begin adding text, navigate to the top left of your Final Cut Pro interface. Locate the libraries, sound effects, and type and generators sections. Under the basic titles category, find the desired title, and either drag it down or click to add a connected clip.

2. Understanding Type Options:

Once the title is added, head to the top right for the inspector panel. Here, you’ll find various options to modify your text, including opacity, transform, cropping, and more. Dive into the type options, where you can customize the font, style, and other parameters.

3. Editing Text Content:

To edit the text content, use the type editor located in the inspector panel. Enter your desired text in the provided text box or directly within the type box. Adjustments to alignment, spacing, and font attributes can be made in this section, ensuring your text suits the video context.

4. Enhancing Visibility:

Ensure your text remains visible against different backgrounds by employing color correction and masking techniques. Utilize drop shadows, shape masks, and color adjustments to make your text stand out, especially when overlaying on diverse visual elements within the video.

5. Adding Transitions and Animation:

Experiment with movement transitions available in Final Cut Pro, such as slides and dissolves, to add dynamic effects to your text. For advanced users, delve into animation by keyframing transform options. This allows for more intricate and customized text movements throughout the video.

Conclusion:

Mastering text positioning in Final Cut Pro opens up a world of creative possibilities for video editors. Whether you’re adding informative titles, captions, or stylized text, understanding these techniques will elevate the visual appeal of your video projects. Experiment with the tips shared in this tutorial to enhance your skills and bring your video editing endeavors to new heights.

Jesse Treece – Collage Artist

Jesse Treece is a distinguished collage artist known for his captivating and surreal compositions that blend vintage imagery with modern elements. With a keen eye for juxtaposition and an intricate understanding of visual storytelling, Treece transforms ordinary found materials into extraordinary works of art. His pieces often evoke a sense of nostalgia, weaving together fragments of pop culture, nature, and everyday life into intricate tapestries of meaning. Through his unique artistic vision, Treece invites viewers to explore the intersection of past and present, inviting them on a journey of discovery through the layers of his meticulously crafted collages.

Create a Collage in Adobe Photoshop

Creating depth in a collage image can significantly enhance its visual appeal and storytelling. In this tutorial inspired by Jesse Treece’s distinctive style, we’ll delve into the intricacies of utilizing adjustment layers to achieve this effect seamlessly. Here’s a breakdown of the key points covered:

  1. Introduction to Adjustment Layers: Inspired by Jesse Treece’s approach, we’ll explore how adjustment layers play a pivotal role in creating depth within a collage image.
  2. Modifying Saturation and Contrast: Taking cues from Treece’s work, we’ll learn how to tweak saturation and contrast levels to add dimensionality to specific elements within the image, particularly focusing on key focal points.
  3. Adding Textures for Depth: Texture layers are a hallmark of Treece’s style. We’ll follow suit by incorporating textures effectively into the composition to enhance its depth and visual richness.
  4. Working with Layer Masks: Treece’s meticulous attention to detail often involves intricate layer masking. We’ll learn how to create transparency using layer masks, allowing for seamless integration of multiple images while maintaining a cohesive composition.
  5. Maintaining Image Quality with Smart Objects: Treece’s dedication to preserving image quality is evident in his work. We’ll adopt similar practices by converting layers into smart objects to ensure optimal scaling without sacrificing quality.
  6. Refining Composition: Like Treece, we’ll explore techniques for refining the composition, including transforming and positioning images to achieve the desired visual impact and narrative coherence.
  7. Applying Adjustment Layers Strategically: Inspired by Treece’s methodical approach, we’ll strategically apply adjustment layers and utilize clipping masks to ensure that each layer’s adjustments are targeted precisely, contributing to the overall depth and visual harmony of the composition.
  8. Fine-tuning with Shapes and Colors: Drawing inspiration from Treece’s use of shapes and colors, we’ll explore how these elements can further refine the composition, adding layers of visual interest and guiding the viewer’s gaze to key focal points.

In essence, this tutorial offers a comprehensive guide to leveraging adjustment layers effectively, inspired by Jesse Treece’s distinctive style. By following these techniques and incorporating elements of Treece’s approach, creators can elevate their collage compositions to new heights of creativity and visual impact.