Mastering Mac File Search: A Comprehensive Guide

Hello, Mac enthusiasts! In this guide, we’ll delve into the world of efficient file searching on your Mac. We’ve all been there – that moment when you’ve misplaced a crucial file and need to find it fast. In this tutorial, we’ll guide you through the process of searching for files even if you can’t recall their names. So, let’s jump right into it.

Understanding the Basics:

When you’re working on your Mac, it’s inevitable that you’ll save a file in the wrong place at some point. The key is knowing how to locate it efficiently. In this tutorial, we’ll explore the Finder’s search capabilities, enabling you to find misplaced files based on file type and creation date.

Navigating the Finder:

To initiate the search, head to the Finder by clicking on its icon in the Dock. Once there, locate the search bar at the top right corner.

Broad Search:

To search for any file on your Mac, use the shortcut Shift + Command + C. This will initiate a comprehensive search across your entire computer.

Narrowing Down the Search:

To make your search more specific, consider adding criteria such as the creation date and file type. For instance, you can search for files created after a certain date and filter by a specific file type.

Date Filtering:

In the tutorial, we demonstrate searching for files created between January 24, 2015, and February 28, 2015. Adjust these dates according to your needs to narrow down the results.

File Type Specification:

Further refine your search by specifying the kind of file you’re looking for. In the video, we focus on finding videos. You can apply the same principle for other file types, such as images or documents.

Sorting and Viewing Options:

Once the search results are displayed, you can organize them based on criteria such as name, date modified, or size. Experiment with different viewing options, such as list view, icon view, or thumbnail view, to suit your preferences.

Digging Deeper:

If you find a file you’re looking for, the tutorial shows you how to navigate through the file path efficiently. This feature is particularly handy when dealing with older files on backups.

Saving Searches:

To streamline your future searches, consider saving them as favorites. The tutorial demonstrates how to save a search for easy access in the sidebar.

Conclusion:

Mastering the art of file search on your Mac can save you valuable time and frustration. By leveraging the powerful search capabilities of the Finder, you can efficiently locate files based on various criteria. If you have any questions or need clarification on any steps, feel free to drop them in the comments section below. Happy searching, and stay tuned for more helpful tips in our next video!
Creating Memes with Photoshop: A Step-by-Step Guide

In this tutorial, we’ll guide you through a simple process of turning a photo of an adorable dog picture into a meme using Photoshop. The steps involve cutting out a photo, creating vector-based layers for the background, and adding text. Let’s break it down.

  1. Prepare the Canvas: Start by creating a new file with dimensions 600×600 pixels, suitable for web use. Ensure the background is white for ease of work.
  2. Cutting Out the Image: Use the polygonal lasso tool to carefully cut out the dog image. Create a layer mask for flexibility in editing later.
  3. Creating the Background: Generate a visually appealing background using the polygon tool. Manipulate the shape by adjusting the points and overlap for a dynamic pattern.
  4. Adding Depth: Apply a drop shadow to the dog’s layer to give the image depth, making it stand out from the background.
  5. Inserting Text: Use the type tool to add text to your meme. Play with fonts and sizes, and apply effects like strokes for emphasis.
  6. Final Touches and Export: Fine-tune the composition, duplicate layers as needed, and add any final details. When satisfied, save the meme as a high-quality JPEG for online sharing.

This quick tutorial is perfect for creating memes for social media platforms like Instagram. Whether you’re a Photoshop novice or looking for a refresher, these steps will have you creating engaging memes in no time. Happy meme-making!

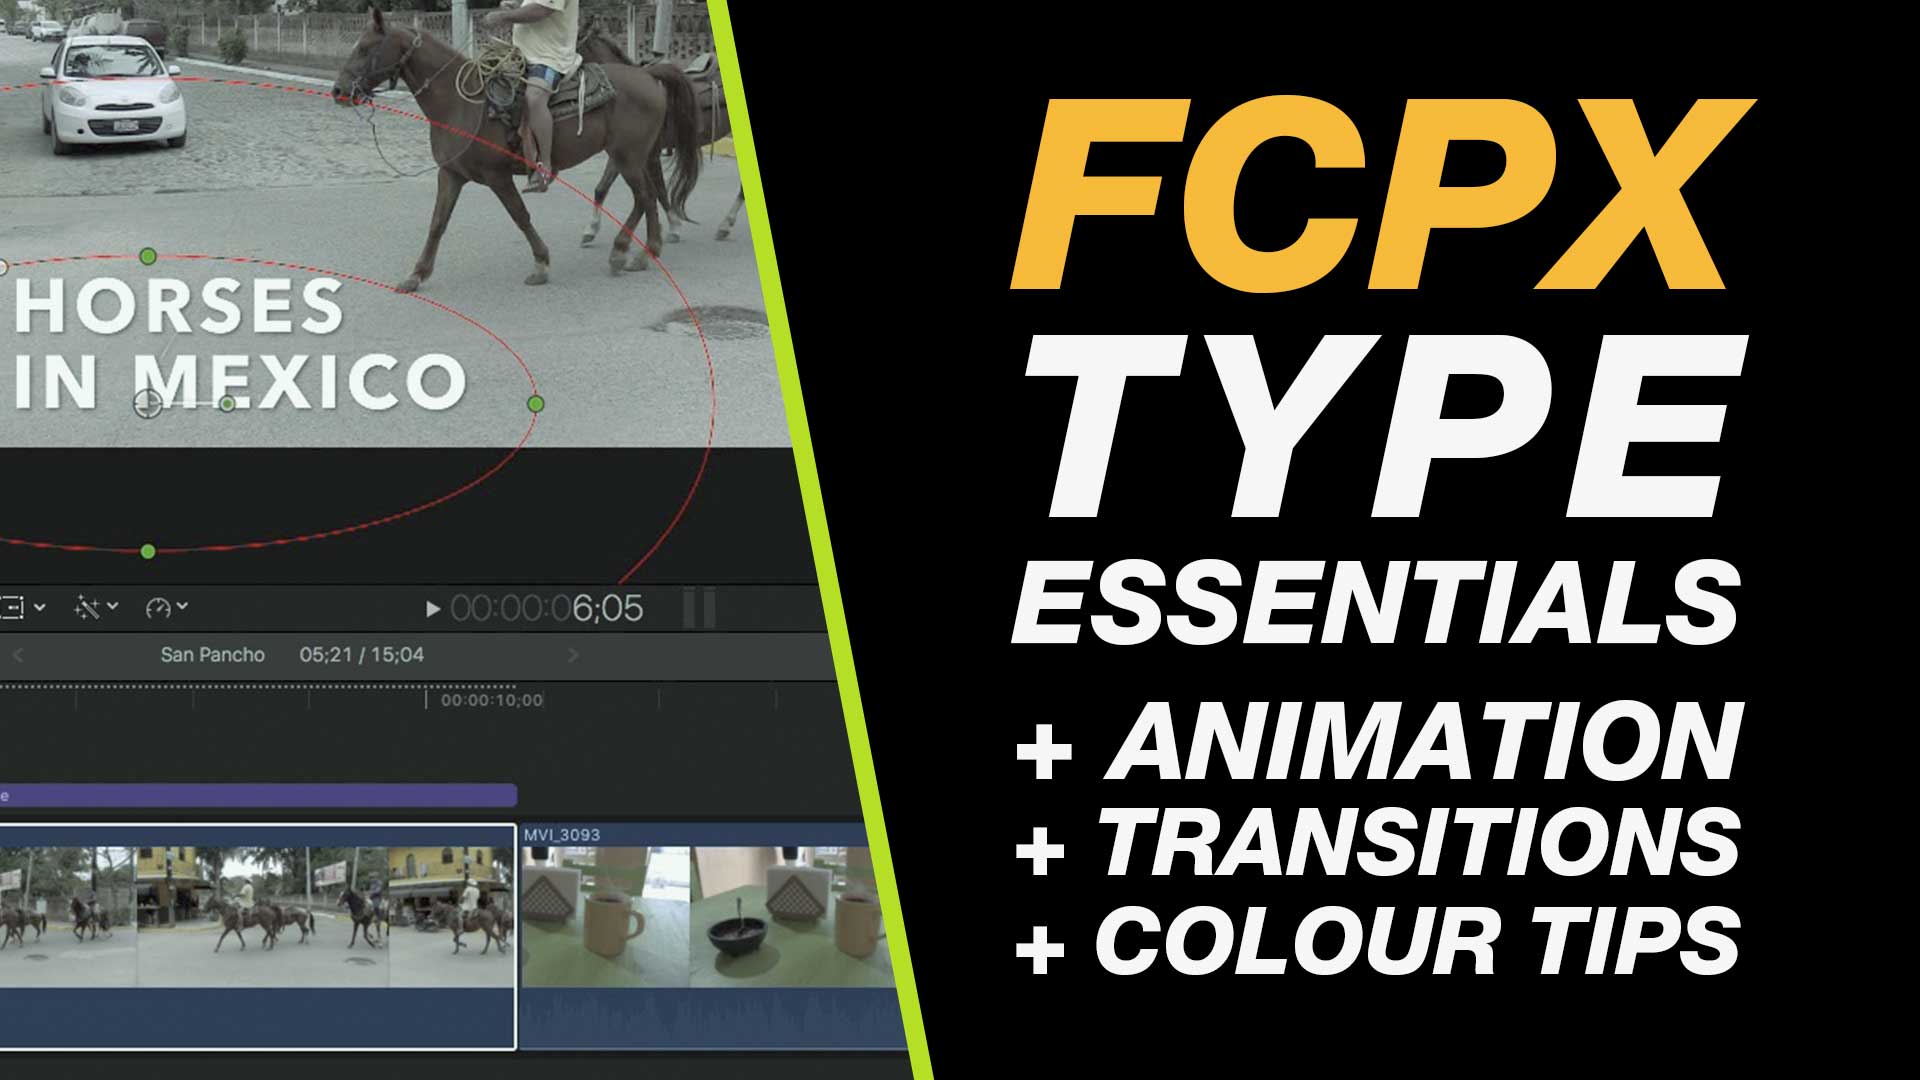
Final Cut Pro Tutorial | Creating and Animating Type

Video editing enthusiasts often encounter challenges when it comes to effectively positioning text in Final Cut Pro. In this tutorial, we’ll explore the intricacies of adding and positioning type in Final Cut Pro, unraveling the complexities and providing insights into creating visually appealing text overlays.

1. Accessing Basic Titles:

To begin adding text, navigate to the top left of your Final Cut Pro interface. Locate the libraries, sound effects, and type and generators sections. Under the basic titles category, find the desired title, and either drag it down or click to add a connected clip.

2. Understanding Type Options:

Once the title is added, head to the top right for the inspector panel. Here, you’ll find various options to modify your text, including opacity, transform, cropping, and more. Dive into the type options, where you can customize the font, style, and other parameters.

3. Editing Text Content:

To edit the text content, use the type editor located in the inspector panel. Enter your desired text in the provided text box or directly within the type box. Adjustments to alignment, spacing, and font attributes can be made in this section, ensuring your text suits the video context.

4. Enhancing Visibility:

Ensure your text remains visible against different backgrounds by employing color correction and masking techniques. Utilize drop shadows, shape masks, and color adjustments to make your text stand out, especially when overlaying on diverse visual elements within the video.

5. Adding Transitions and Animation:

Experiment with movement transitions available in Final Cut Pro, such as slides and dissolves, to add dynamic effects to your text. For advanced users, delve into animation by keyframing transform options. This allows for more intricate and customized text movements throughout the video.

Conclusion:

Mastering text positioning in Final Cut Pro opens up a world of creative possibilities for video editors. Whether you’re adding informative titles, captions, or stylized text, understanding these techniques will elevate the visual appeal of your video projects. Experiment with the tips shared in this tutorial to enhance your skills and bring your video editing endeavors to new heights.

Final Cut Pro Tutorial | A Comprehensive Guide to Perfect Scrolling Title Credits

In this tutorial, we reveal a step-by-step walkthrough for seamlessly integrating captivating scrolling title credits into your Final Cut Pro project. Enhance the visual appeal of your content with these strategic techniques:

1. Optimal Scene Setup: Initiate your project by selecting a still image strategically positioned for seamless color adjustments, ensuring an ideal backdrop for your scrolling titles.

2. Effortless Navigation to Titles and Text Generators: Access titles and text generators easily by utilizing the “Show or hide titles and generators sidebar” feature in the top left corner. Locate the scrolling credit roll within the credits section.

3. Swift Implementation of Scrolling Credits: Drag and drop the scrolling credits onto your timeline, then fine-tune settings using the inspector on the top right for a polished outcome.

4. Meticulous Text Customization: Input film and actor details manually, maintaining consistent spacing. Employ spreadsheets for organized alignment, streamlining the process for efficient editing.

5. Control Speed and Duration: Manage the speed of your scrolling credits by adjusting the clip duration to accommodate the number of credits, ensuring a seamless and visually engaging experience.

6. Enhanced Visibility Through Color Correction: Leverage the color correction tool to optimize the contrast between your background image and titles. Lift blacks, fine-tune mid-tones, and adjust whites for enhanced visibility.

7. Explore Additional Text Editing Tools: Delve into the inspector’s basic options for tracking, line spacing, and text formatting, allowing for further customization and personalization.

8. Final Touches and Conclusion: Fine-tune your scrolling credits to align perfectly with the background image, adjusting duration, speed, and color for maximum visual impact.

Congratulations! With this comprehensive guide, you’ve mastered the art of seamlessly integrating scrolling title credits in Final Cut Pro. Subscribe for more expert Final Cut Pro insights and explore our tailored courses for an immersive introduction to Final Cut Pro. Thank you for reading, and stay tuned for our next tutorial!

Related Keyphrases:

  • Final Cut Pro scrolling text
  • Title credits in Final Cut Pro
  • Color correction for better visuals
  • Text customization in video editing
  • Efficient timeline navigation in Final Cut Pro
  • Speed control for scrolling credits
  • Enhancing contrast in Final Cut Pro
  • Advanced text editing tools in video production
  • Tips for polished video outros
  • Final Cut Pro tutorial for beginners