Final Cut Pro | Split Screen Fundamentals Using Scale, Crop & Layers

Explore the art of split screen creation using Final Cut Pro without breaking the bank. These curated tutorials cover classic 4-Up, before and after, diagonal, and blended split screens, utilizing built-in tools or the excellent Splitz 2 plugin by BretFX. Elevate your projects with professional visuals and learn techniques to enhance your editing skills. Join in discovering the diverse possibilities of editing with Final Cut Pro.

Split Screens in Final Cut Pro

Classic 4-Up Split Screen

Create a classic 4-Up split screen with the built-in-tools in Final Cut Pro. A great tutorial for editors on a budget who need to create pixel perfect split screens.

Create a Before and After Split with or Without a Plugin

Create a cool before and after, animated, split using Final Cut Pro’s cropping features or the BretFX Quick List plugin.

Diagonal Split Screen

Using Final Cut Pro’s built-in Draw Mask Tools create this excellent animated diagonal split of two videos. A creative use of the tools that all Final Cut Pro editors have at their disposal.

Blended Two Videos Seamlessly

This video used a smart selection of footage and tools to blend two pieces of video together without any dividing lines. Very cool for a smooth and professional look for your creative content.

BretFX Splitz 2 Plugin

My favourite tool for creative, animated splits and one of the best out there on the market. Splitz 2 from BretFX is an excellent addition to any editors suite of plugins.

Get in touch

I am excited to share a series of tutorials on split screen editing using Final Cut Pro! From classic layouts to dynamic arrangements, these tutorials cover various techniques to enhance your editing skills. Whether you’re a beginner or a seasoned pro, there’s something for everyone. We’d love to hear your thoughts and feedback at design@benhalsall.com. Join us in exploring the possibilities of split screen editing!
Final Cut Pro Tutorial | Creating and Animating Type

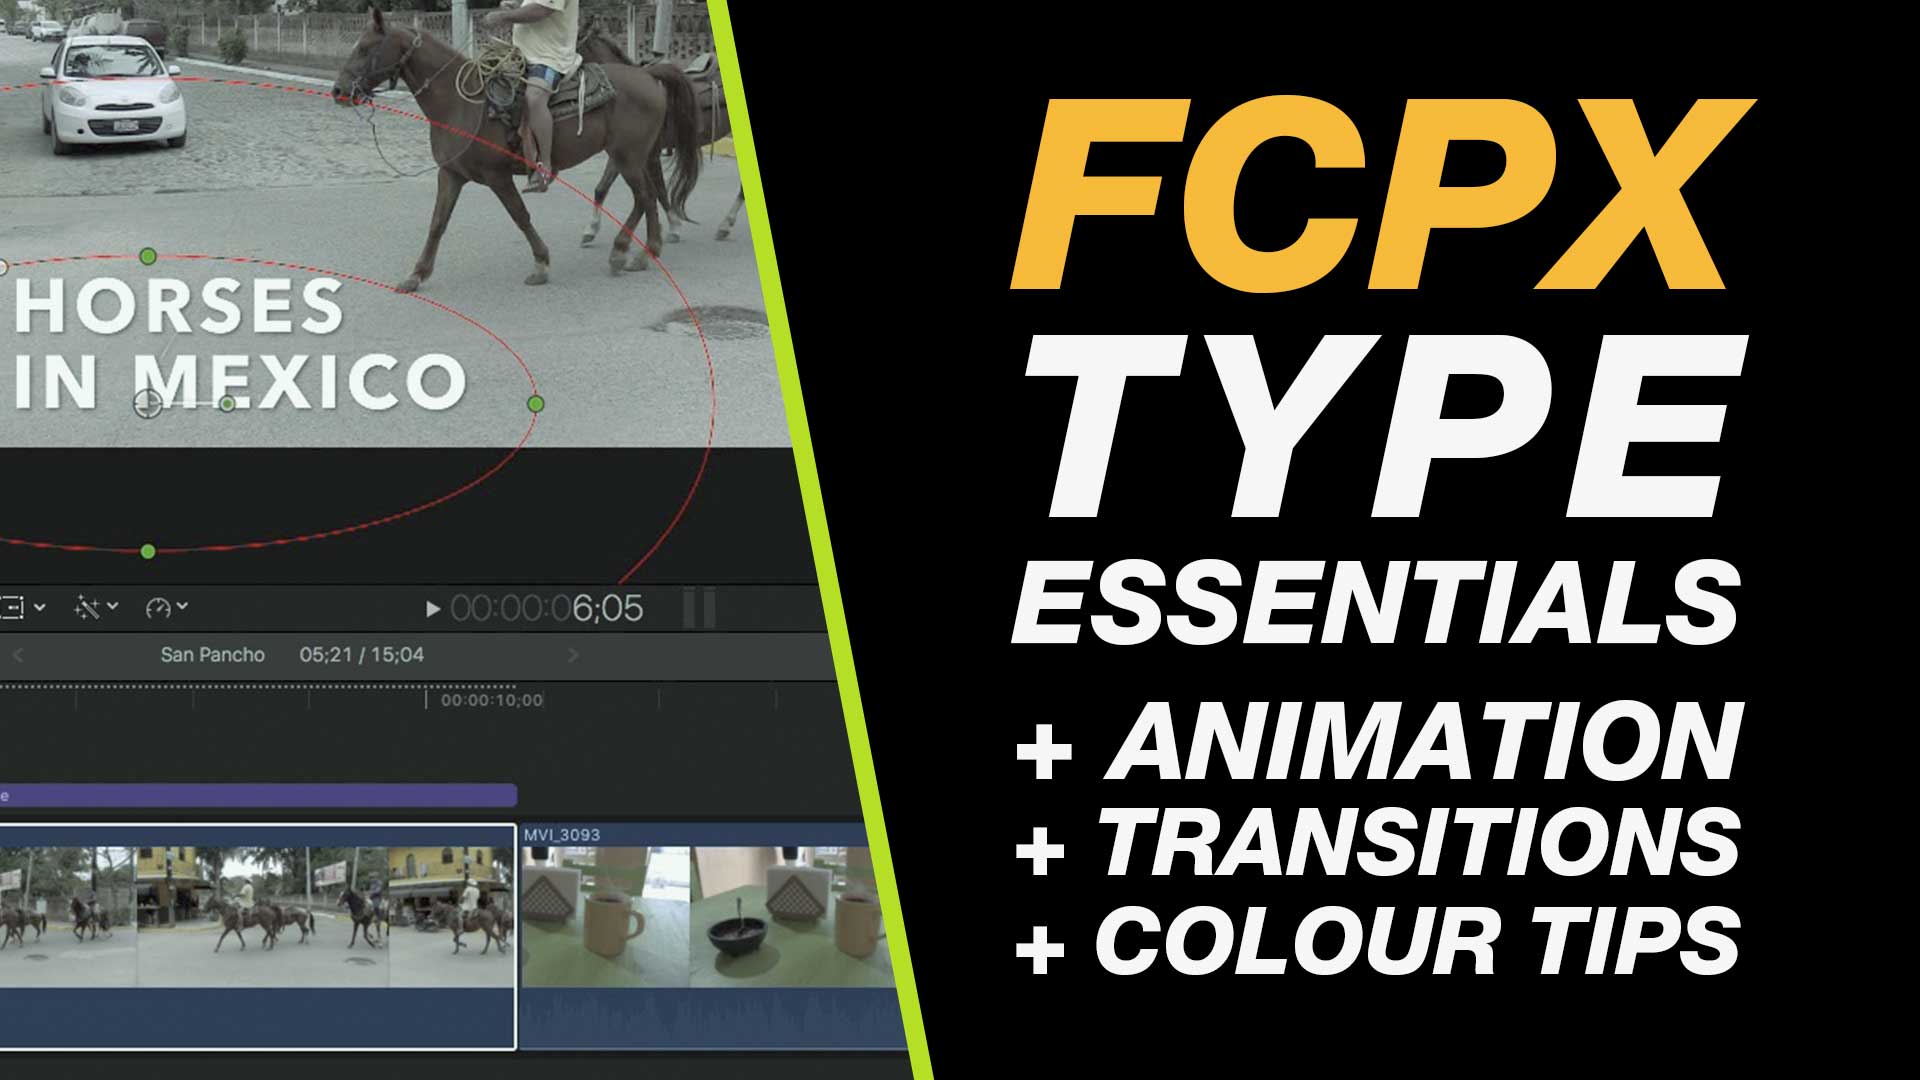
Video editing enthusiasts often encounter challenges when it comes to effectively positioning text in Final Cut Pro. In this tutorial, we’ll explore the intricacies of adding and positioning type in Final Cut Pro, unraveling the complexities and providing insights into creating visually appealing text overlays.

1. Accessing Basic Titles:

To begin adding text, navigate to the top left of your Final Cut Pro interface. Locate the libraries, sound effects, and type and generators sections. Under the basic titles category, find the desired title, and either drag it down or click to add a connected clip.

2. Understanding Type Options:

Once the title is added, head to the top right for the inspector panel. Here, you’ll find various options to modify your text, including opacity, transform, cropping, and more. Dive into the type options, where you can customize the font, style, and other parameters.

3. Editing Text Content:

To edit the text content, use the type editor located in the inspector panel. Enter your desired text in the provided text box or directly within the type box. Adjustments to alignment, spacing, and font attributes can be made in this section, ensuring your text suits the video context.

4. Enhancing Visibility:

Ensure your text remains visible against different backgrounds by employing color correction and masking techniques. Utilize drop shadows, shape masks, and color adjustments to make your text stand out, especially when overlaying on diverse visual elements within the video.

5. Adding Transitions and Animation:

Experiment with movement transitions available in Final Cut Pro, such as slides and dissolves, to add dynamic effects to your text. For advanced users, delve into animation by keyframing transform options. This allows for more intricate and customized text movements throughout the video.

Conclusion:

Mastering text positioning in Final Cut Pro opens up a world of creative possibilities for video editors. Whether you’re adding informative titles, captions, or stylized text, understanding these techniques will elevate the visual appeal of your video projects. Experiment with the tips shared in this tutorial to enhance your skills and bring your video editing endeavors to new heights.

Jesse Treece – Collage Artist

Jesse Treece is a distinguished collage artist known for his captivating and surreal compositions that blend vintage imagery with modern elements. With a keen eye for juxtaposition and an intricate understanding of visual storytelling, Treece transforms ordinary found materials into extraordinary works of art. His pieces often evoke a sense of nostalgia, weaving together fragments of pop culture, nature, and everyday life into intricate tapestries of meaning. Through his unique artistic vision, Treece invites viewers to explore the intersection of past and present, inviting them on a journey of discovery through the layers of his meticulously crafted collages.

Create a Collage in Adobe Photoshop

Creating depth in a collage image can significantly enhance its visual appeal and storytelling. In this tutorial inspired by Jesse Treece’s distinctive style, we’ll delve into the intricacies of utilizing adjustment layers to achieve this effect seamlessly. Here’s a breakdown of the key points covered:

  1. Introduction to Adjustment Layers: Inspired by Jesse Treece’s approach, we’ll explore how adjustment layers play a pivotal role in creating depth within a collage image.
  2. Modifying Saturation and Contrast: Taking cues from Treece’s work, we’ll learn how to tweak saturation and contrast levels to add dimensionality to specific elements within the image, particularly focusing on key focal points.
  3. Adding Textures for Depth: Texture layers are a hallmark of Treece’s style. We’ll follow suit by incorporating textures effectively into the composition to enhance its depth and visual richness.
  4. Working with Layer Masks: Treece’s meticulous attention to detail often involves intricate layer masking. We’ll learn how to create transparency using layer masks, allowing for seamless integration of multiple images while maintaining a cohesive composition.
  5. Maintaining Image Quality with Smart Objects: Treece’s dedication to preserving image quality is evident in his work. We’ll adopt similar practices by converting layers into smart objects to ensure optimal scaling without sacrificing quality.
  6. Refining Composition: Like Treece, we’ll explore techniques for refining the composition, including transforming and positioning images to achieve the desired visual impact and narrative coherence.
  7. Applying Adjustment Layers Strategically: Inspired by Treece’s methodical approach, we’ll strategically apply adjustment layers and utilize clipping masks to ensure that each layer’s adjustments are targeted precisely, contributing to the overall depth and visual harmony of the composition.
  8. Fine-tuning with Shapes and Colors: Drawing inspiration from Treece’s use of shapes and colors, we’ll explore how these elements can further refine the composition, adding layers of visual interest and guiding the viewer’s gaze to key focal points.

In essence, this tutorial offers a comprehensive guide to leveraging adjustment layers effectively, inspired by Jesse Treece’s distinctive style. By following these techniques and incorporating elements of Treece’s approach, creators can elevate their collage compositions to new heights of creativity and visual impact.

Monospaced Fonts and Fixed Width Type on Mac OS

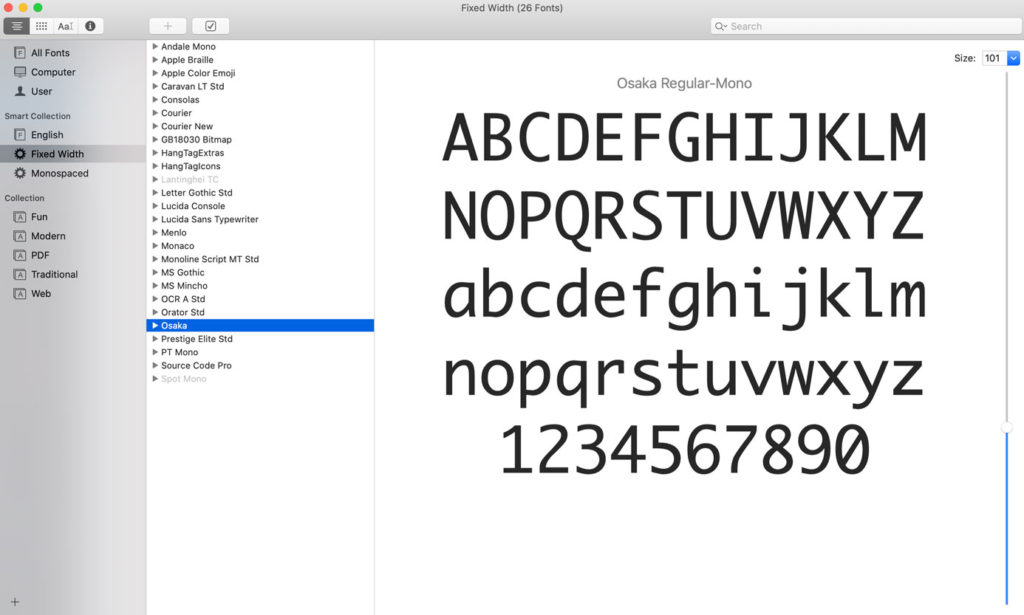
Below is a list of monospaced fonts [aka fixed width fonts] that I have installed on my Mac. You can list all your monospaced fonts in the Font Book app by creating a smart collection File > New Smart Collection and selecting the design style as monospaced from the available drop down menus.

  • Andale Mono
  • Apple Braille
  • Apple Colour Emoji
  • Caravan Lt Std
  • Consolas
  • Courier
  • Courier New
  • GB18030 Bitmap
  • Lantinghei TC
  • Letter Gothic Std
  • Lucida Console
  • Lucida Sans Typewriter
  • Menlo
  • Monaco
  • Monoline Script MT Std
  • MS Gothic
  • MS Mincho
  • OCR A Std
  • Orator Std
  • Osaka
  • Prestige Elite Std
  • PT Mono
  • Source Code Pro
  • Spot Mono

List Your Monospaced Fonts in Font Book

You can list your monospaced fonts in Font Book by creating a smart collection File > New Smart Collection and this will give you the options needed to create your own custom font list.

 A screenshot of monospaced fonts in the Font Book application.
Setup your own custom font lists in Apple’s Font Book application.

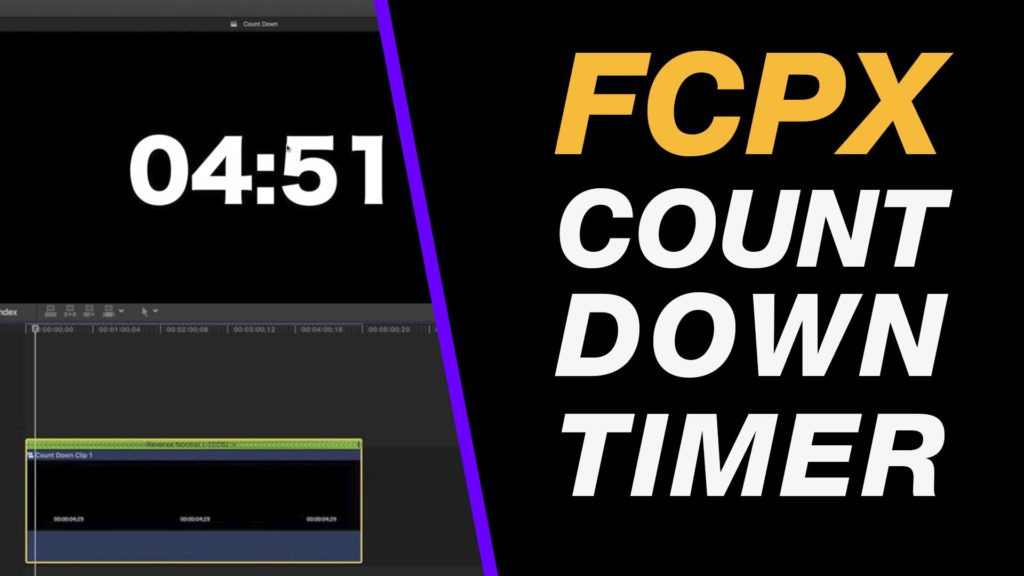
When Monospaced Fonts become invaluable – Tutorial on How to Create a Countdown Timer with Final Cut Pro

In this tutorial the fixed with fonts become really useful – Create a Countdown Timer in Final Cut Pro . This is because using a monospaced font prevents the animation jumping around when you switch from narrow digits like ‘1’ to wider digits like ‘5’ or ‘0’. This countdown timer uses only the built-in plugins in Final Cut Pro with some simple tips and tricks.

Create a Countdown Timer in Final Cut Pro,
Use monospaced fonts when you create a countdown timer in Final Cut Pro.

Why do I see different fonts?

Each version of macOS has its own set of fonts installed by default. Below are some links to recent font lists on macOS. If you are using a different version of macOS you can just google “font list” and the name of your version of Apple’s operating system which you can find from the Apple Menu under About this Mac.

Big Sur font list – https://support.apple.com/en-ca/HT211240

Catalina font list – https://support.apple.com/en-ca/HT210192

Mojave font list – https://support.apple.com/en-ca/HT208968

Unlock the Art of Typography

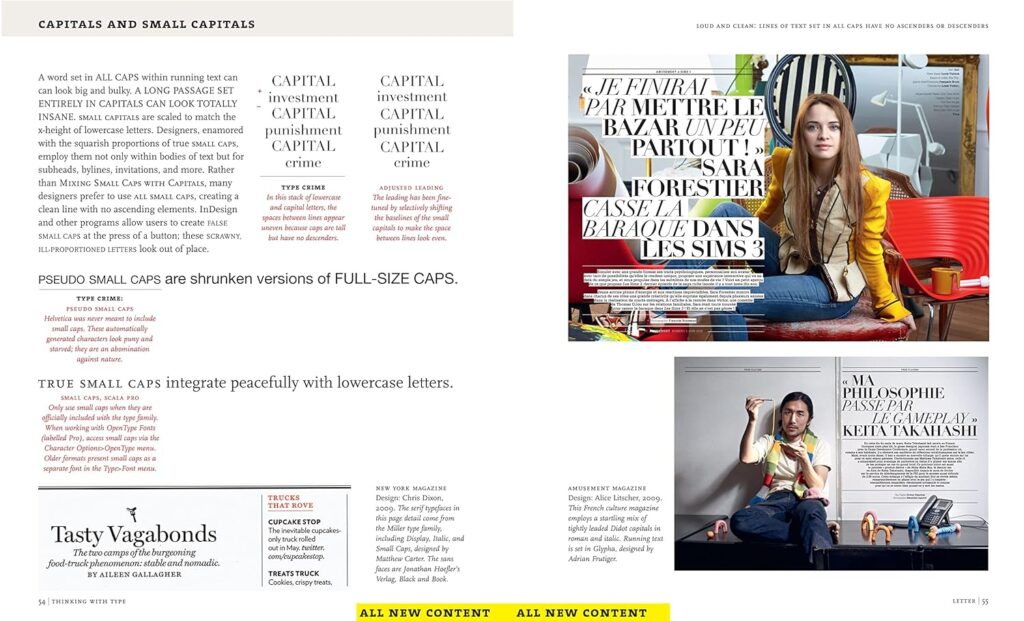
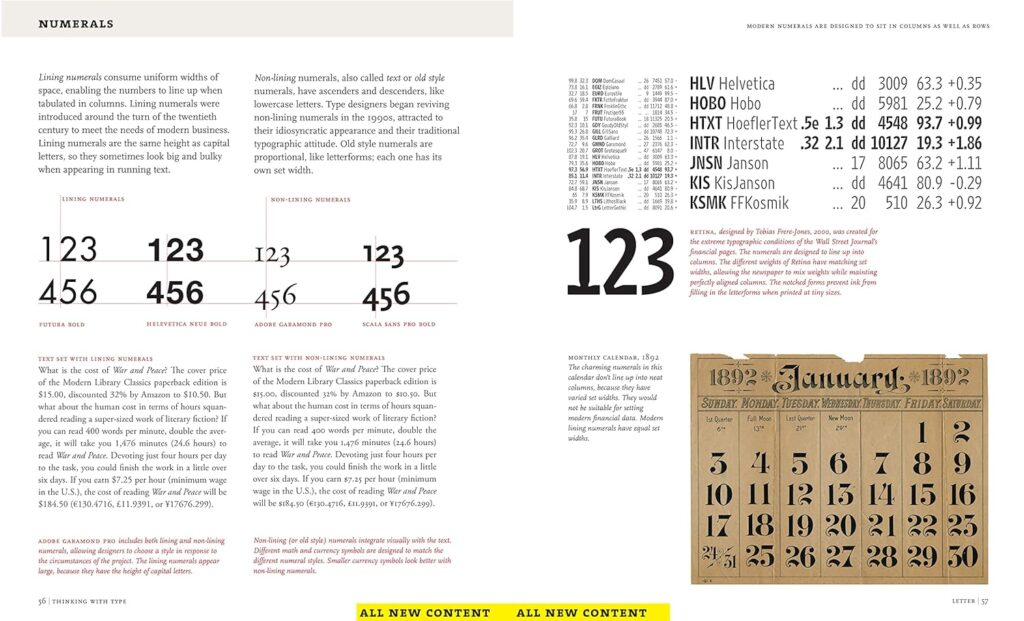
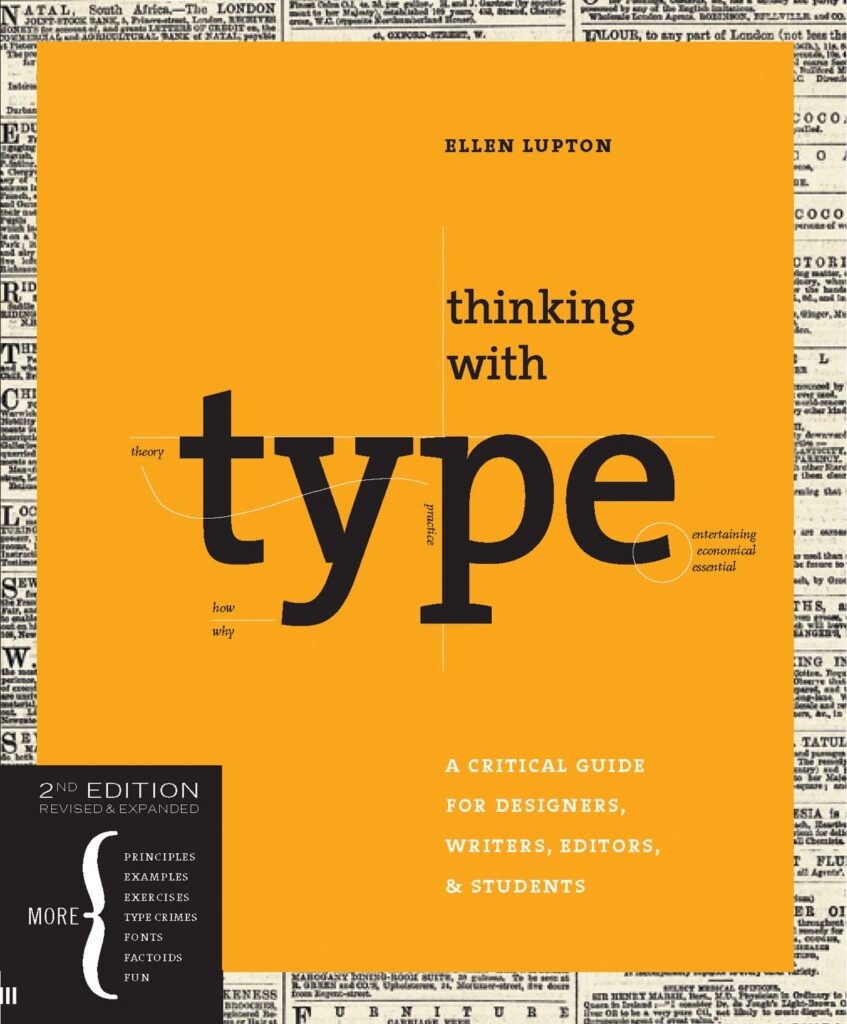
Thinking with Type, often likened to Stephen Hawking’s A Brief History of Time for typography, serves as a comprehensive guide to the intricate world of visual communication through letterforms.

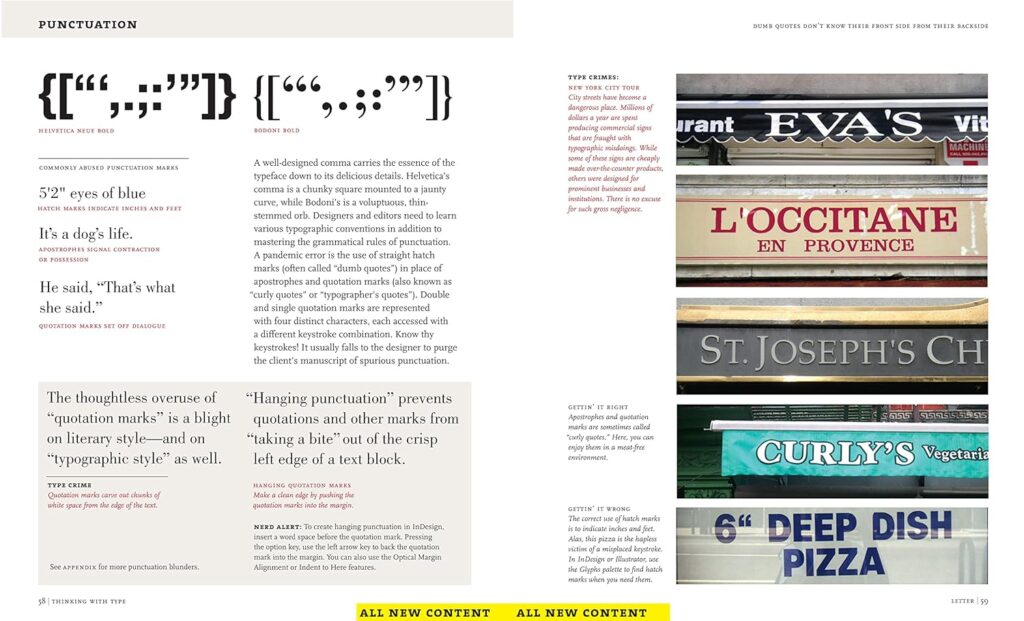
This edition boasts forty-eight pages of new content, offering the latest insights into style sheets for both print and web, the use of ornaments and captions, as well as nuances such as lining and non-lining numerals, small caps, enlarged capitals, and the art of mixing typefaces. Additionally, Lupton delves into font formats and licensing, equipping readers with the knowledge needed to navigate the ever-evolving landscape of typography.

In this revised and expanded edition, Ellen Lupton delves into the essentials of typography, from understanding typefaces and type families to mastering kerning and tracking. The book provides clear guidance on aligning, spacing, ordering, and shaping letters, words, and paragraphs, accompanied by visual examples to demonstrate inventive approaches within typographic systems.

Throughout the book, readers will find eye-opening demonstrations of basic typography design, along with practical exercises and dozens of illustrations to aid comprehension. Whether you’re a seasoned designer, writer, editor, student, or anyone else working with words, Thinking with Type is an indispensable resource. Ellen Lupton’s expertise reveals the intricate construction of typefaces and offers valuable insights into their most effective utilization.

For fans of Thinking with Type, Lupton’s new book Extra Bold: A Feminist, Inclusive, Anti-racist, Nonbinary Field Guide for Graphic Designers promises further exploration into contemporary design practices with a focus on inclusivity and social responsibility.

Affiliate Links

Many of the links above are affiliate links. This means that I earn a small commission if you purchase the plugins or sign up for a subscription. It won’t cost you any more but it helps me to keep making these tutorial videos for free.

How to Blur a License Plate or Face in Final Cut Pro

In this tutorial, we’ll explore a quick and efficient method to blur out number plates in Final Cut Pro using the latest tracking features. Whether for privacy concerns or legal requirements, blurring out identifiable information is a common task in video editing, and Final Cut Pro offers powerful tools to accomplish this seamlessly.

Continue reading How to Blur a License Plate or Face in Final Cut Pro

Photoshop Tutorial | Create a Groovy Twirling Animated GIF

Crafting a Mesmerizing Spiral Loop: A Photoshop Tutorial

Greetings, design enthusiasts! Today, we’ll delve into the intricate world of Photoshop to create a captivating looping animated GIF. This tutorial is tailored to be straightforward and accessible, regardless of your Photoshop proficiency.

Continue reading Photoshop Tutorial | Create a Groovy Twirling Animated GIF

How to Turn Automatic Update ON or OFF on your Mac – Avoid Final Cut Pro upgrade issues

With every update to macOS comes risks that current or future versions of Final Cut Pro may have some issues. Video editors can avoid being caught out, and losing work, by turning off the Automatic Update of the operating system.

How to turn off auto-update

  1. Go to the Apple Logo at the top left of your screen and click System Preferences.
  2. Click the Software Update button if you don’t automatically go to that window (3rd Row down).
  3. Uncheck Automatically keep my Mac up to date and in the advanced options, you can also uncheck Install app updates and Install macOS updates.
Uncheck Automatically keep my Mac up to date so that you control when your
system software upgrades.
Keep Install macOS updates and Install app update from the App Store unchecked to keep control over when updates happen. Keep security updates checked – these are important!

Things that were troublesome when upgrading to macOS Catalina

Previously there were a couple of things that are particularly important to note when updating to macOS Catalina. These types of issues can pop-up for any major upgrade and it is always worth waiting a little while whilst others upgrade so that they can discover any issues and glitches. This can really help to avoid down-time for your working mac.

  • 64-Bit Apps Only – only applications running in 64-Bit will run on macOS Catalina so if your Mac updates automatically then you could be left with apps that don’t work if they only run in 32-Bit. In this video, you can check – https://www.youtube.com/watch?v=Eu_uuytcRnU .
  • Metal Processing for FCPX – Final Cut Pro X 10.4.7 and Mac OS X Catalina make use of performance enhancements using Metal for its graphics processing. For some more information about Metal check out Ripple Training’s video – https://www.youtube.com/watch?v=nOgXFpdhmjY .
  • Graphics Glitches – it seems that Metal comes with some side effects that can cause graphics glitches. You can remedy these by turning off the Reduce transparency option in your System Preferences. There is some more info about that here >>.

Security Updates & Downloads

I like to keep Check for updates, Download new updates when available and Install system data files and security updates all checked. Especially the security updates are important in case there are security patches that Apple releases in response to a problem. You won’t want to wait for those!

Check your Plugins for Final Cut Pro

With the update, some plugins for Final Cut Pro X may not work. You should check to see if your plugin provider has tested their plugins with the new system and Final Cut Pro X update to 10.4.7. If they are important plugins that you use in lots of projects this would be another reason to hold off upgrading.

Must Watch: “Final Cut Pro – How to SAFELY update Final Cut Pro X (and Catalina)??” by Robin S. Kurz

“After seeing how many people have struggled with whether to update or not and then seeing them approach it the worst most unsafe way I felt it was time I finally made a video about the whole thing!” Robin S. Kurz

Want to Update to Mojave instead of Catalina?

Some new plugins will require the newest version of Final Cut Pro but if you don’t want to upgrade to Catalina but are on an earlier version of macOS than Mojave then this page on the Apple web-site may help you out:

https://support.apple.com/macos/mojave?fbclid=IwAR0RHPxDe7n7QCKPidOpX7bcXmHqU1E0ZIKy3tq_akKXN_9KttzhLUxyiq8

Reasons for doing this may be that you want to keep older versions of Adobe Creative cloud running. Upgrading to Catalina may mean you need to upgrade.

If in doubt jump on the forums! (& delay updating)

If you are ever unsure about the updates then jump on the forums on Facebook or Reddit to ask questions. It is more often than not better to wait before updating as major software updates can often reveal major bugs in the new system upon release that just weren’t predicted in the BETA testing.

There are always lots of people in the same boat and if you follow the forums for Final Cut Pro X or macOS online then you can keep your finger on the pulse of any current issues that are popping up!

Forums that I follow online:

Final Cut Pro X User Group
https://www.facebook.com/groups/289713057748965/

FINAL CUT PRO X EDITORS
https://www.facebook.com/groups/108687235938893/

You can also contact me if you have any questions and I am available for online support and training.

How to create a bootable macOS Catalina installer drive on a USB Stick by Roman Loyola

“An external drive that you can use as an installer for macOS Catalina is a handy thing to have. If you have multiple Macs to upgrade, it’s a lot more efficient to plug in the USB installer drive and run the installer than to log into the App Store, download the 8.09GB OS installer, and then run it.” Roman Loyola, Macworld

Find out more here >>

Additional Upgrade Notes

These notes are things that I come across as I work with my clean install of macOS Catalina on my 16″ MacBook Pro.

E-mail – moving message from your old mac

You will need access to your old system hard-drive or a backup to keep any e-mail not stored on your iCloud drive.

You can import messages and folders from an external drive. Here is Apple’s guid on how to import your e-mail:
https://support.apple.com/en-ca/guide/mail/mlhlp1030/mac .

Final Cut Pro Tutorial: Create Title Credit Roll

Final Cut Pro, a powerhouse in video editing, offers a wealth of tools to enhance your projects. Among them, crafting compelling titles can significantly elevate the impact of your videos. This comprehensive guide will walk you through the essential techniques for creating engaging titles, applicable to various video genres.

Continue reading Final Cut Pro Tutorial: Create Title Credit Roll

Final Cut Pro X: Green Screen, Draw Mask & Double Exposure Tutorials

Key a Green Screen in Final Cut Pro X

In this tutorial we look at how to key out a green screen in Final Cut Pro X. Using the built-in features of FCPX we look at how to remove a ‘less than perfect’ green screen that has inconsistent lighting and a few folds in it.

Double Exposure Portrait Effect in Final Cut Pro X

In this tutorial you will learn how to colour correct and use blend modes to composite layers together to create this double exposure effect. Using only Final Cut Pro X’s built-in plugins there are a whole host of skills, shortcuts, tips and tricks covered in this tutorial. Enjoy!

Layers, Animation & Arrows in Final Cut Pro X

In this tutorial you will learn how to animate layers in Final Cut Pro X as well as being introduced to the Arrow Pop plugin that includes some awesome arrow animations and motion tracking features. Add Arrows with style to your videos, social media posts and more!

mDoubleExposure from MotionVFX*

Breathtaking multiple exposure effects known from photography have just arrived into FCPX. This incredible plugin lets you create multi-layered compositions with advanced customizable masking and control over numerous parameters. Create an artistic vision of blended videos with just a couple of steps. Cinematic double exposure shots are now at your fingertips. BUY NOW >>

*affiliate link