Final Cut Pro, a powerhouse in video editing, offers a wealth of tools to enhance your projects. Among them, crafting compelling titles can significantly elevate the impact of your videos. This comprehensive guide will walk you through the essential techniques for creating engaging titles, applicable to various video genres.
Continue reading Final Cut Pro Tutorial: Create Title Credit RollCategory: Blog
Final Cut Pro X: Green Screen, Draw Mask & Double Exposure Tutorials
Key a Green Screen in Final Cut Pro X
Double Exposure Portrait Effect in Final Cut Pro X
Layers, Animation & Arrows in Final Cut Pro X
mDoubleExposure from MotionVFX*

*affiliate link
Videos that Use Speed Changes & Movement for in Camera Effects
Below is a collection of videos that use speed changes in different ways for effect. If anyone has any other good ones they can think of then drop me a message and I will add them to the list.
The Pharcyde – Drop (Official Music Video – 1995)

The Mae Shi – Run to Your Grave (2007)
puzzle feet
Nintendo Switch on an Airplane (uses swishpan)
How to Shoot a HYPERLAPSE
skate – shot on red #1347 – 120 fps (2008)
Cloning
Although this example is in Final Cut Pro X the same principle can be applied when shooting footage for use in Premiere Pro.
Learn to Edit using Final Cut Pro
Check out this in-depth tutorial exploring Final Cut Pro‘s key features. Covering everything from downloading free video and audio to organizing footage and precise editing techniques, this guide is a valuable resource for both beginners and those looking to refine their skills. The step-by-step approach includes trimming clips, adding transitions, applying effects like colorization, and incorporating titles. Whether you’re new to video editing or seeking advanced insights, this tutorial provides a comprehensive introduction to Final Cut Pro.
Final Cut Pro Tutorial | A Comprehensive Guide to Perfect Scrolling Title Credits
In this tutorial, we reveal a step-by-step walkthrough for seamlessly integrating captivating scrolling title credits into your Final Cut Pro project. Enhance the visual appeal of your content with these strategic techniques:
1. Optimal Scene Setup: Initiate your project by selecting a still image strategically positioned for seamless color adjustments, ensuring an ideal backdrop for your scrolling titles.
2. Effortless Navigation to Titles and Text Generators: Access titles and text generators easily by utilizing the “Show or hide titles and generators sidebar” feature in the top left corner. Locate the scrolling credit roll within the credits section.
3. Swift Implementation of Scrolling Credits: Drag and drop the scrolling credits onto your timeline, then fine-tune settings using the inspector on the top right for a polished outcome.
4. Meticulous Text Customization: Input film and actor details manually, maintaining consistent spacing. Employ spreadsheets for organized alignment, streamlining the process for efficient editing.
5. Control Speed and Duration: Manage the speed of your scrolling credits by adjusting the clip duration to accommodate the number of credits, ensuring a seamless and visually engaging experience.
6. Enhanced Visibility Through Color Correction: Leverage the color correction tool to optimize the contrast between your background image and titles. Lift blacks, fine-tune mid-tones, and adjust whites for enhanced visibility.
7. Explore Additional Text Editing Tools: Delve into the inspector’s basic options for tracking, line spacing, and text formatting, allowing for further customization and personalization.
8. Final Touches and Conclusion: Fine-tune your scrolling credits to align perfectly with the background image, adjusting duration, speed, and color for maximum visual impact.
Congratulations! With this comprehensive guide, you’ve mastered the art of seamlessly integrating scrolling title credits in Final Cut Pro. Subscribe for more expert Final Cut Pro insights and explore our tailored courses for an immersive introduction to Final Cut Pro. Thank you for reading, and stay tuned for our next tutorial!
Related Keyphrases:
- Final Cut Pro scrolling text
- Title credits in Final Cut Pro
- Color correction for better visuals
- Text customization in video editing
- Efficient timeline navigation in Final Cut Pro
- Speed control for scrolling credits
- Enhancing contrast in Final Cut Pro
- Advanced text editing tools in video production
- Tips for polished video outros
- Final Cut Pro tutorial for beginners
Final Cut Pro Tutorial: Create a Green Screen
Introduction:
Welcome to the first installment of our three-part video series dedicated to mastering green screen compositing in Final Cut Pro. In this tutorial, we’ll delve into the basics, addressing common challenges and providing practical solutions to enhance your compositing skills.
Setting the Stage:
Our journey begins in a packed house, where we introduce the overarching theme of the series. The primary focus of this initial video is to guide you through the process of creating a fundamental green screen effect in Final Cut Pro.
Working with Imperfect Green Screens:
Embracing the real-world challenges, we deliberately use a less-than-perfect green screen to showcase common issues that may arise during compositing. From lighting challenges to dealing with imperfect backgrounds, we tackle the nuances of working with less-than-ideal conditions.
Key Steps in Green Screen Compositing:
Cutting to the chase, we outline the essential steps in green screen compositing. Learn how to seamlessly remove the green background from your video within Final Cut Pro and address common issues that may arise when refining the green screen mask.
Watch other Videos in the Series:
Learn more about compositing from these exciting tutorials:
- Video 2: Unlock the magic of the double exposure effect in Final Cut Pro
- Video 3: Compositing & animating with Stupid Raisins Arrow Pop plugin from FX Factory.
Sponsorship Mention:
A special shout-out to our sponsor, FX Factory, supporting all three videos in this series. Explore their innovative tools and take your compositing skills to new heights.
Final Cut Pro Tutorial | Create Flashing Type Animation
Unlock the potential of Final Cut Pro by elevating your video content with a captivating flashing type animation. In this tutorial overview, we’ll guide you through the process, offering insights into key steps and creative decisions.
Continue reading Final Cut Pro Tutorial | Create Flashing Type AnimationFinal Cut Pro | Best Split Screen Tutorials
Explore the art of split screen creation using Final Cut Pro without breaking the bank. These curated tutorials cover classic 4-Up, before and after, diagonal, and blended split screens, utilizing built-in tools or the excellent Splitz 2 plugin by BretFX. Elevate your projects with professional visuals and learn techniques to enhance your editing skills. Join in discovering the diverse possibilities of editing with Final Cut Pro.

Classic 4-Up Split Screen
Create a classic 4-Up split screen with the built-in-tools in Final Cut Pro. A great tutorial for editors on a budget who need to create pixel perfect split screens.
Create a Before and After Split with or Without a Plugin
Create a cool before and after, animated, split using Final Cut Pro’s cropping features or the BretFX Quick List plugin.
Diagonal Split Screen
Using Final Cut Pro’s built-in Draw Mask Tools create this excellent animated diagonal split of two videos. A creative use of the tools that all Final Cut Pro editors have at their disposal.
Blended Two Videos Seamlessly
This video used a smart selection of footage and tools to blend two pieces of video together without any dividing lines. Very cool for a smooth and professional look for your creative content.
BretFX Splitz 2 Plugin
My favourite tool for creative, animated splits and one of the best out there on the market. Splitz 2 from BretFX is an excellent addition to any editors suite of plugins.
Get in touch
I am excited to share a series of tutorials on split screen editing using Final Cut Pro! From classic layouts to dynamic arrangements, these tutorials cover various techniques to enhance your editing skills. Whether you’re a beginner or a seasoned pro, there’s something for everyone. We’d love to hear your thoughts and feedback at design@benhalsall.com. Join us in exploring the possibilities of split screen editing!
Creative Technologies Processes – A Manifesto for Creative Technologies?
Today
1. A talk about manifestos // 2. A Video by John Maeda on the Future of Technology & Art // 3. Notes on Your Assignment // 4. Designing your manifesto // 5. An in class-task (split into groups of 4 at the start of class – you will need one laptop).
Talk, Links, Notes & Quotes
There have been many manifestos written to frame, propose, reject and set out the parameters for individual’s artistic or design practice or for groups or organisations trying to direct a movement in a certain direction. The aim of this task is to research into the different approaches that artists take in the production of their work either as individuals or collectives and to begin to outline a proposal for our own Manifesto for Creative Technologies.
The manifesto you produce is very much like a wish list of things that you do and don’t want from your journey of experimentation and learning in this course. Think about the things you are interested in, that you want to research and develop into your own work. I’ve included several different styles of manifestos here ranging from designer’s and design collectives manifestos through to art groups through the ages. These examples set the context and the questions for you to answer in your manifesto which you will design and upload to your WordPress blog.
From Manifestos by short lived groups such as ART CONCRET to the currently popular Maker Movement where we are given the invitation:
“In the spirit of making, I strongly suggest you take this manifesto, make changes to it, and make it your own. That is the point of making.” from The Maker Movement Manifesto by Mark Hatch
And this is exactly what we will do here. We will take inspiration from the manifestos that I will share with you and from those that you discover in your research as we each write our own Creative Technologies Manifesto. You can create this manifesto in any form you wish. It could be spoken as a YouTube video, designed as a poster in Photoshop,
What is the point of a Manifesto?
“A manifesto is a published verbal declaration of the intentions, motives, or views of the issuer, be it an individual, group, political party or government.” from Wikipedia
So for the Art Concret movement for example their manifesto outlined the process by which each painting would be made. This included not only what should be done but also what should not be done for example:
“The construction of a painting, as well as that of its elements, must be simple and visually controllable.”

“A work of art must be entirely conceived and shaped by the mind before its execution. It shall not receive anything of nature’s or sensuality’s or sentimentality’s formal data. We want to exclude lyricism, drama, symbolism, and so on.”
So in this statement they were rejecting previous art movements like realism in part to try to create something new that was disconnected from what might have been considered bourgeois art movements.
Another well know manifesto that preceded the art work that were created under its banner was the, highly controversial, Manifesto of Futurism which was published in the Italian newspaper Gazzetta dell’Emilia in Bologna on 5 February 1909 . It set out a philosophical approach to living life and creating art that called for some pretty radical actions such as writing “We will destroy the museums, libraries, academies of every kind, will fight moralism, feminism, every opportunistic or utilitarian cowardice.” and seemingly absurd statements such as this: “We will glorify war—the world’s only hygiene—militarism, patriotism, the destructive gesture of freedom-bringers, beautiful ideas worth dying for, and scorn for woman.”. [full manifesto can be read here]
The paintings and artworks of Futurism were pretty impressive in their developments of new approaches but sit against the backdrop of the rise of fascism. What is interesting is the broad range of topics that were seen as important in forging an artistic movement. It talks a lot about embracing new technology, the importance of the motor car and of rejecting existing establishments such as museums and universities.


More recently in 1960 the Fluxus Manifesto was created.

- Paul Sharits – Word Movie (1966)
- John Cavanaugh – Blink (1966) (strobing)
- Yoko Ono – Eye Blink (1966)
The Fluxus artists work was often playful
There are also philosophical Manifestos that link together the idea of contemporary themes such as the computer hacker with wider communities of makers, designers, artists etc… And example of this is The Hacker Manifesto by McKenzie Wark which critiques the commodification of information. The quote below highlights how we could all be considered to be hackers.
“Where does new information come from? From what I would call the ‘hack’. It doesn’t matter if you are a programmer, a philosopher, a musician, a bio-chemist, if you produce new information, that’s a hack. I want to expand the meaning of the word beyond a narrow, specialized field. Because I think that all kinds of new information production are now rendered equivalent by the regime of intellectual property. The market makes what we all do equivalent.” quote from an interview with McKenzie Wark writer of the Hacker Manifesto
This idea that all new information, for example an artistic creation, is in fact a hack is something interesting to consider. If we look at this painting by Alexander Calder titles Homage to the Sun.

Then we could argue that this video uses a mixture of the ‘maker’ & ‘hacker’ philosophy to create something new that in turn has its own beauty but that could not have been created without the original.
‘Calder’ Paintings in 3D from Shkelzen Kernaja on Vimeo.
John Maeda: How art, technology and design inform creative leaders
The Assignment: Creative Technologies Manifesto (10%)
Write a 12 point manifesto for the creative technologies that defines a considered approach to developing creative projects in this field. Use some of the examples of artists & artistic organisations working with creative technologies as well as the manifestos discussed in class as your starting point.
Supplementing the manifesto you should reference 2 or more works from artists that exemplify this way of working. Include where they were distributed, located or displayed, name the specific technologies being used by the artists referenced and web-links where possible.
Format: Up to 300 Words – submitted to your blog. (see notes about how to design your Manifesto below)
Due: Start of class on Tuesday 19th January
How To Design Your Manifesto: Using Adobe Illustrator, Adobe Photoshop or Inkscape
Your manifesto should also be designed as a downloadable/printable PDF.
Use the software Adobe Illustrator, Adobe Photoshop or Inkscape to design your Manifesto. For this assignment you should focus on the type design and layout. The type can be totally designed digitally or drawn and then photographed or scanned in.
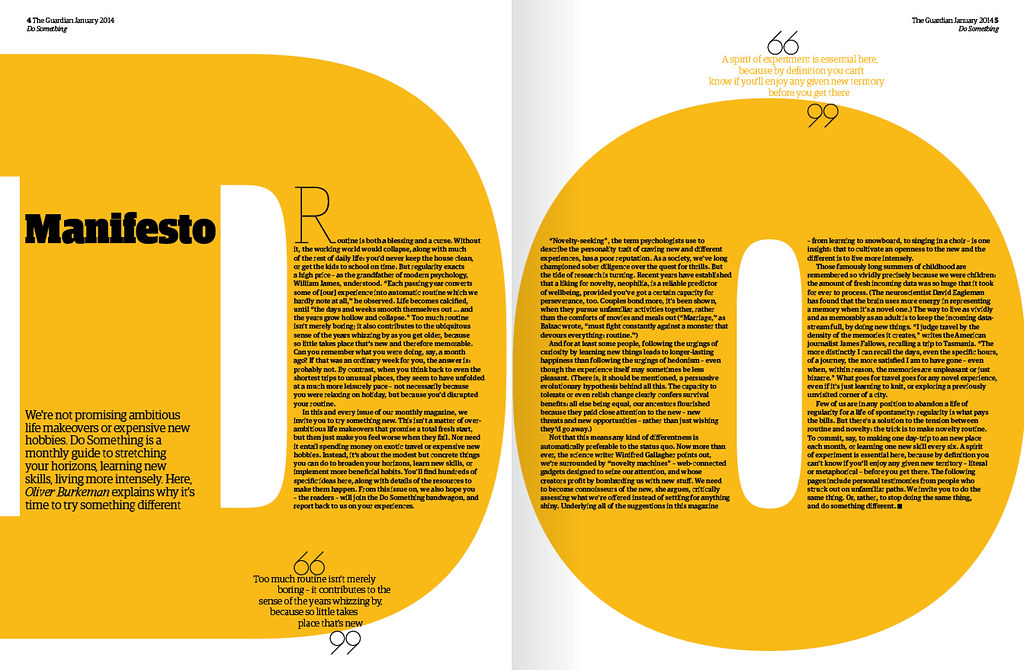
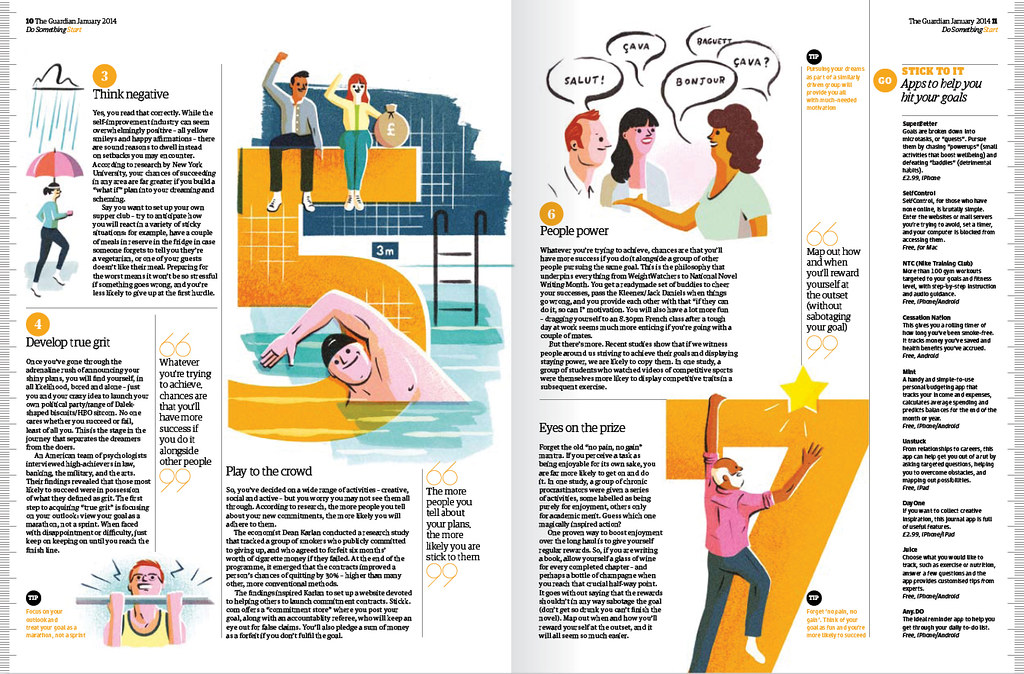
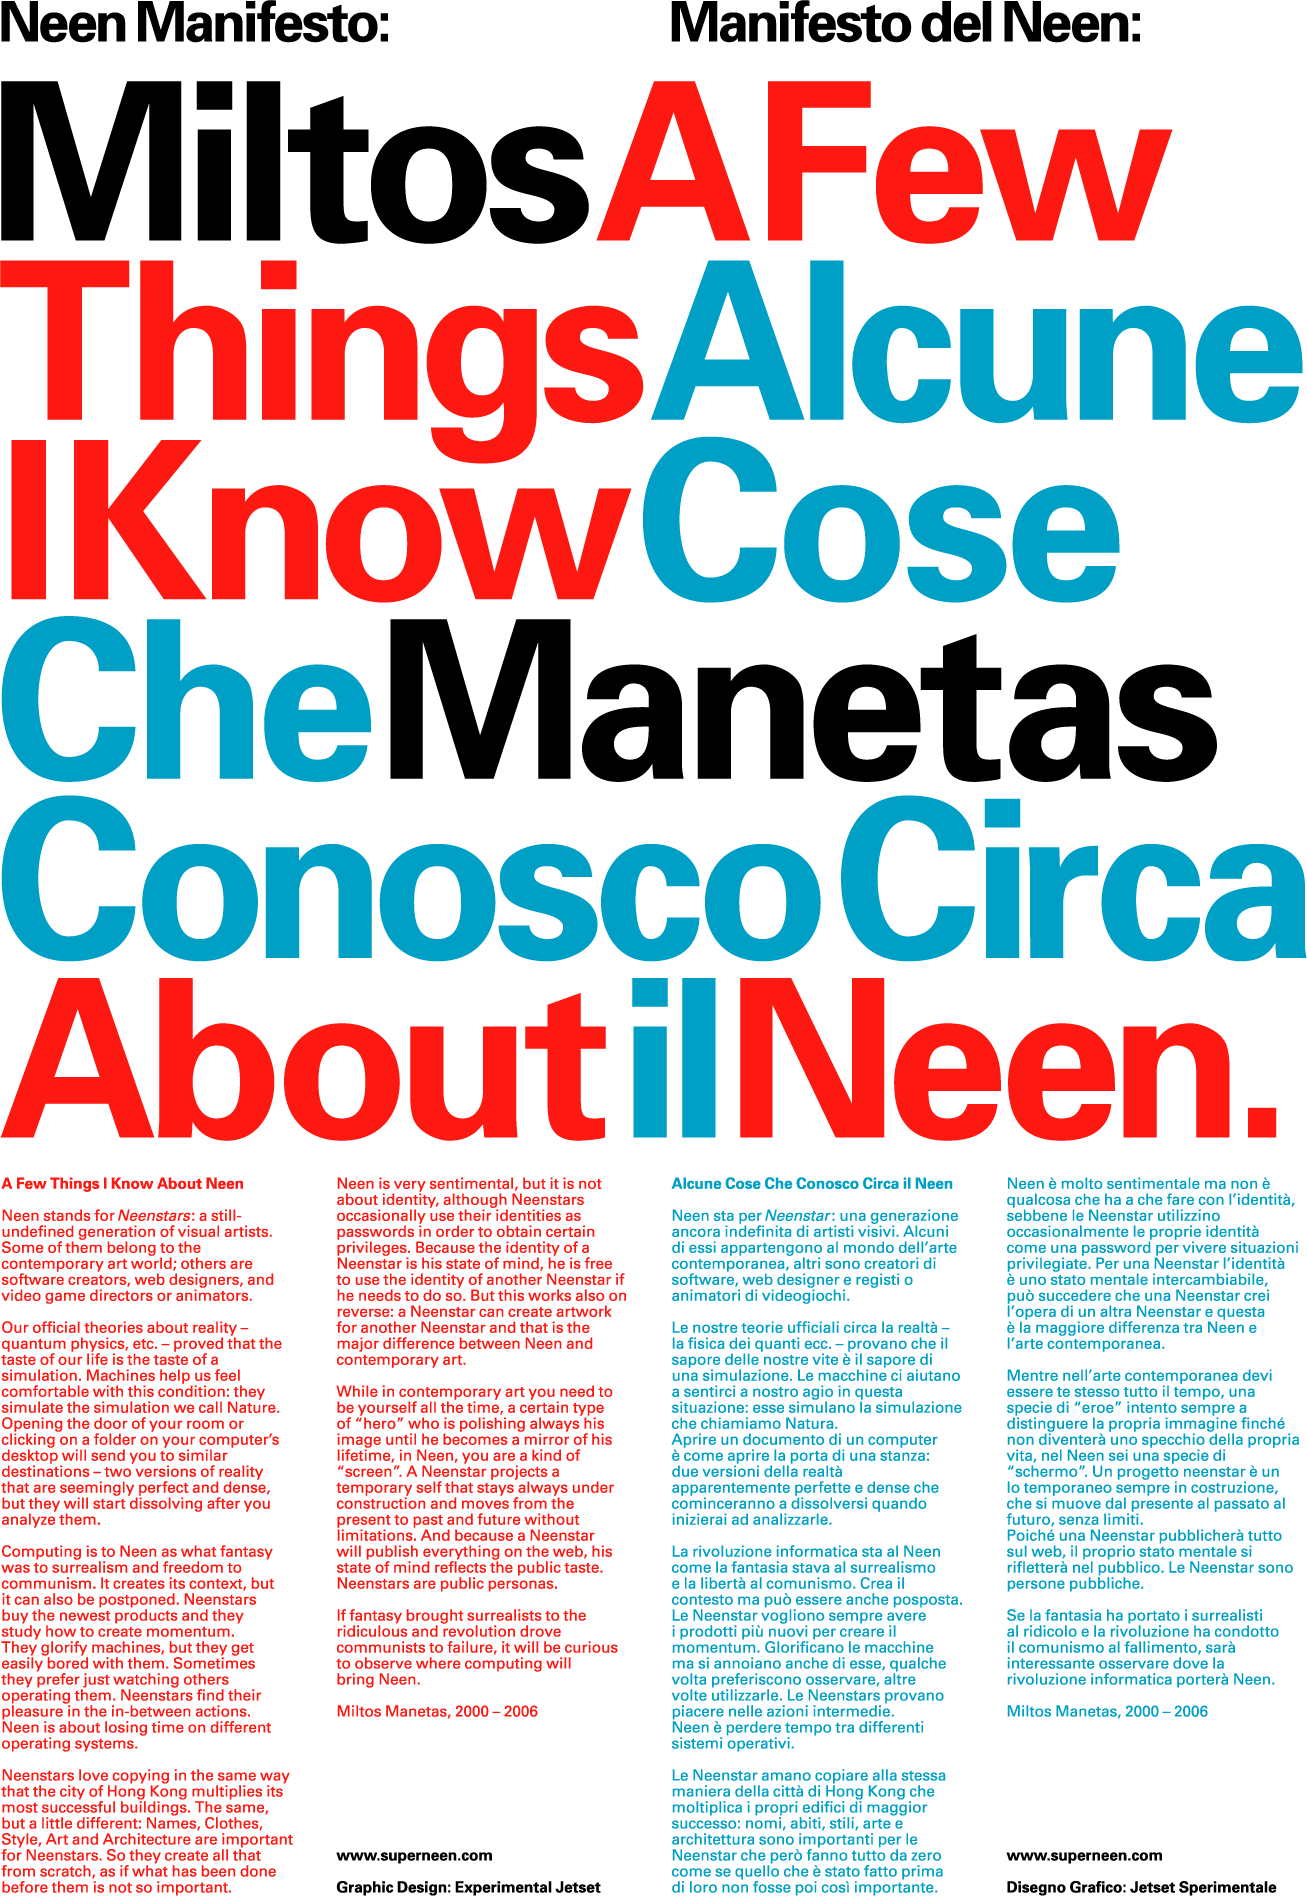
Here are some good examples for inspiration:

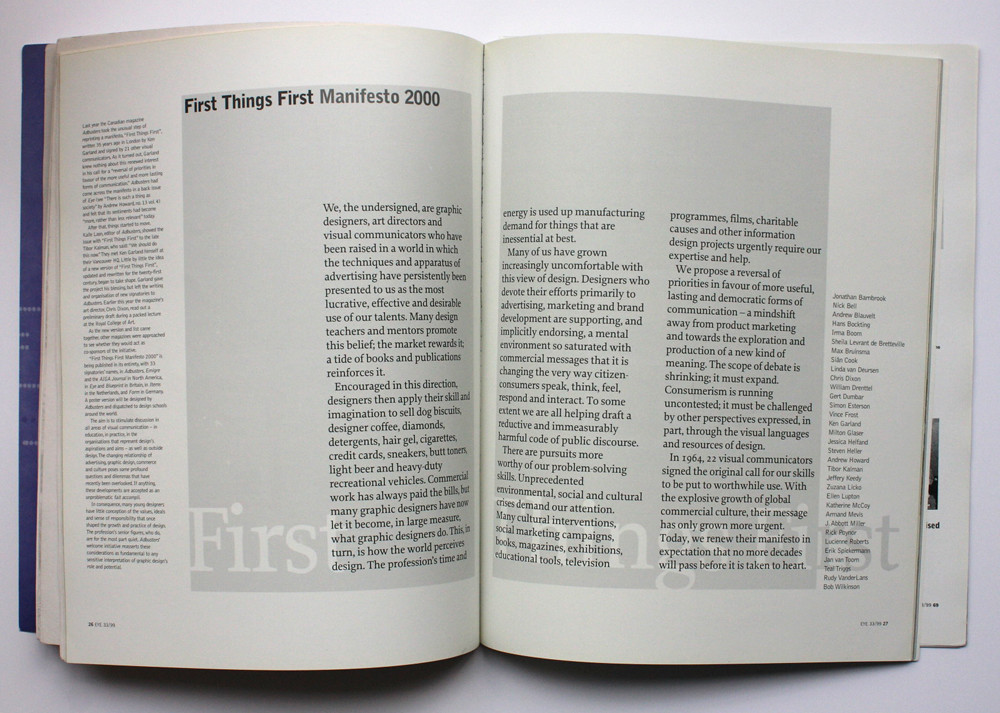
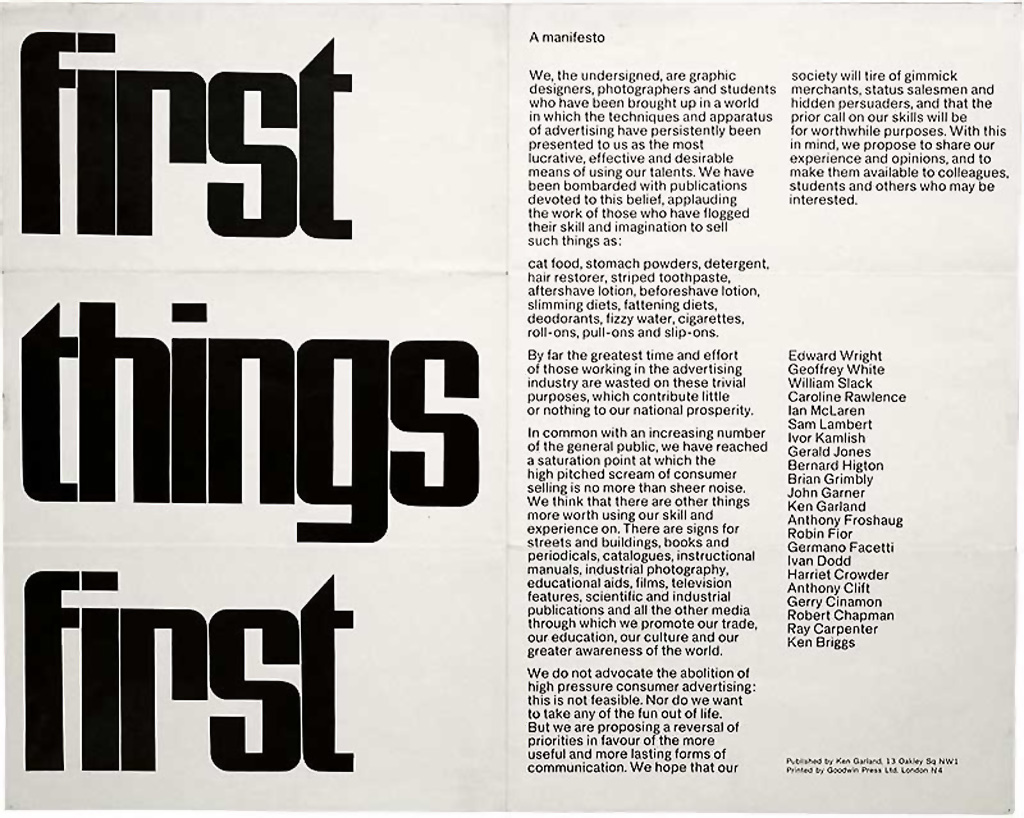
http://www.designishistory.com/1960/first-things-first/



Class Task: Research & Re-Write
In groups of 4 you will look begin the research for your Manifesto Assignment.
Take one quote or point from one of the manifesto listed above.
Attempt to re-write it as a Manifesto Point for Creative Technologies.
Other Manifestos: for your to use in your research
Fluxus Manifesto – Art Collective
Bauhaus Manifesto – School of Design
50 Artists & Designers Tell Us What The Believe – http://www.iconeye.com/404/itemlist/category/534-manifestos
A Pinterest Collection of Manifestos & Designs by Nick Lovegrove
10 game-changing art manifestos By Harriet Baker
11 Design Manifestos You Must Read Today by Beth Caird, 3 October 2013
Additional Resources
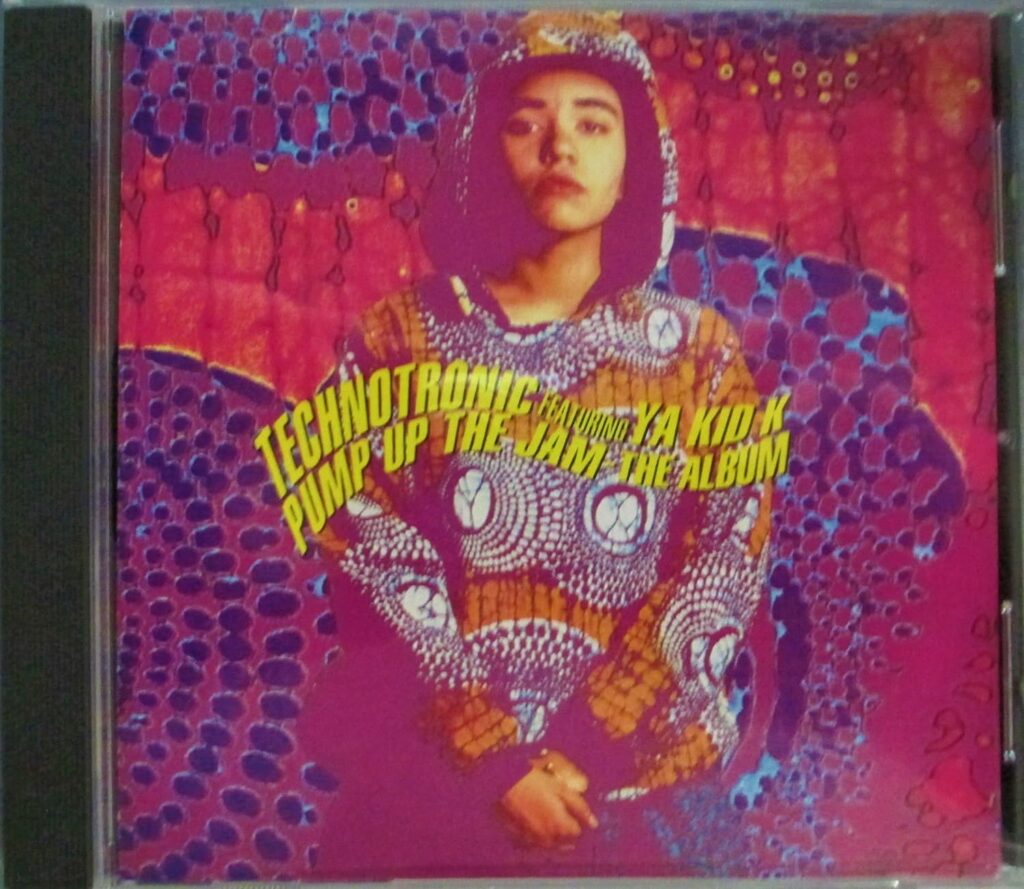
Technotronic – Pump Up The Jam
Technotronic was a Belgian studio-based music project formed in 1988 by Jo Bogaert, who originally gained notoriety in the early 1980s as part of a cover band and as a solo artist under various New Beat projects, including The Acts of Madmen and Nux Nemo. Together with vocalist Ya Kid K, he produced the hit single, “Pump Up the Jam”, which was originally an instrumental. An image for the act was later put together, utilizing Congolese-born fashion model Felly Kilingi as its album/single cover art, and supposed singer in the music video. (Wikipedia)
Pump Up the Jam The Album CD
Track Listings
| 1 | Pump Up The Jam |
| 2 | Get Up! (Before The Night Is Over) |
| 3 | Tough |
| 4 | Take It Slow |
| 5 | Come On |
| 6 | This Beat Is Technotronic |
| 7 | Move This |
| 8 | Come Back |
| 9 | Rockin’ Over The Beat |
| 10 | Raw |
| 11 | Wave |
| 12 | Bluestring |

