This tutorial will work in Final Cut Pro X 10.2, 10.3 or 10.4. Just follow the steps below or watch the video and away you go!
Whether you have 10 image, 100 image or 1000+ images this technique will allow you change the duration of multiple images on the timeline in one go. This is great for getting the timing of a slideshow presentation right without having to individually edit files. We walk through how to do this on the main storyline and on a connected storyline. This question is from Gaasm’s comment on the tutorial Final Cut Pro X: Import an Animated GIF with Transparency .
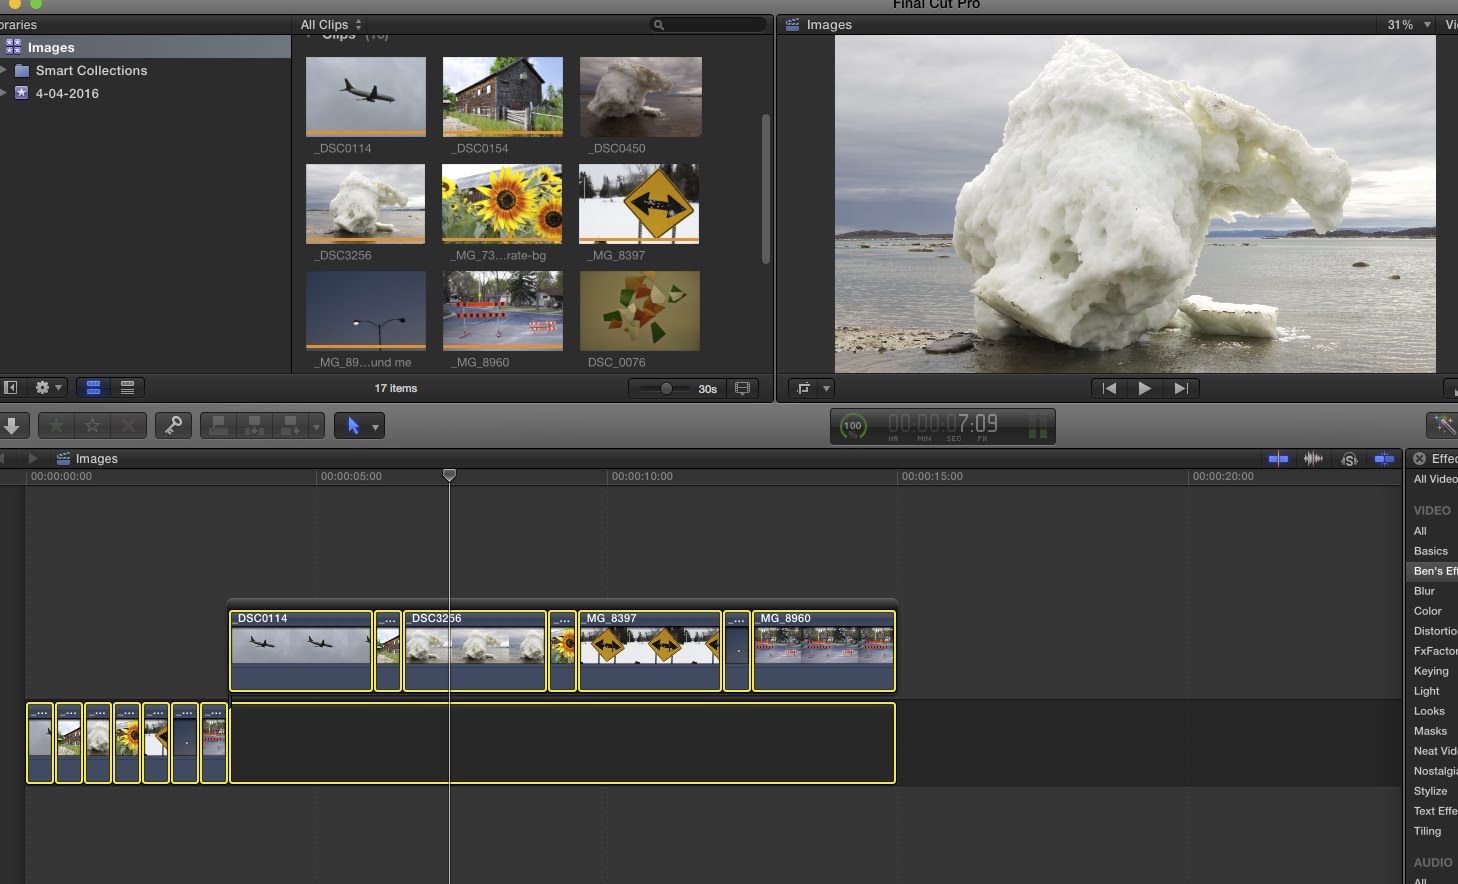
Step-by-step process – change multiple clip durations
- Click anywhere on your timeline
- CMD + A which will select all your images (they should all outline in yellow). If you only want to select a few use the SHIFT or CMD modifier and click on the clips that you want to select.
- CTRL + D will select the duration option for all the clips you have selected.
- Type in 4.00 (4 seconds and 0 frames) or another value for example 2.15 (two seconds and 15 frames) and click enter.
Full Final Cut Pro X Introduction on Skillshare
Looking for my full intro to Final Cut Pro X you can find it here on Skillshare – https://skl.sh/2BTUvhy .