Learn about layering in Final Cut Pro with this run through of how to add a FIFA Player Card onto your game footage. This tutorial is useful if you are planning to composite graphics over the top of any video game footage or other videos. You will learn about how to work with layers in Final Cut Pro as well as how to transition in your graphic content.
After Effects: Add a 4-Color Gradient to Your Composition
In this concise tutorial you will learn how to add a 4-color gradient to an After Effects Composition as well as looking at how to customise the color, position & flow of your gradient.
Create a Polygonal Avatar using @illustrator on @skillshare #learn #class #skype #tutorial
As a part of my course on polygonal patterns I’ve set my students the task of creating polygonal avatar on the site.
You can join in to!
If you are interested in getting involved this is a free link to enrol on the course.
Task
Create your own polygonal avatar using the techniques described in the tutorial videos.
Export as PNG
Export it from Illustrator or Photoshop as a PNG & upload it to the projects area of the class.
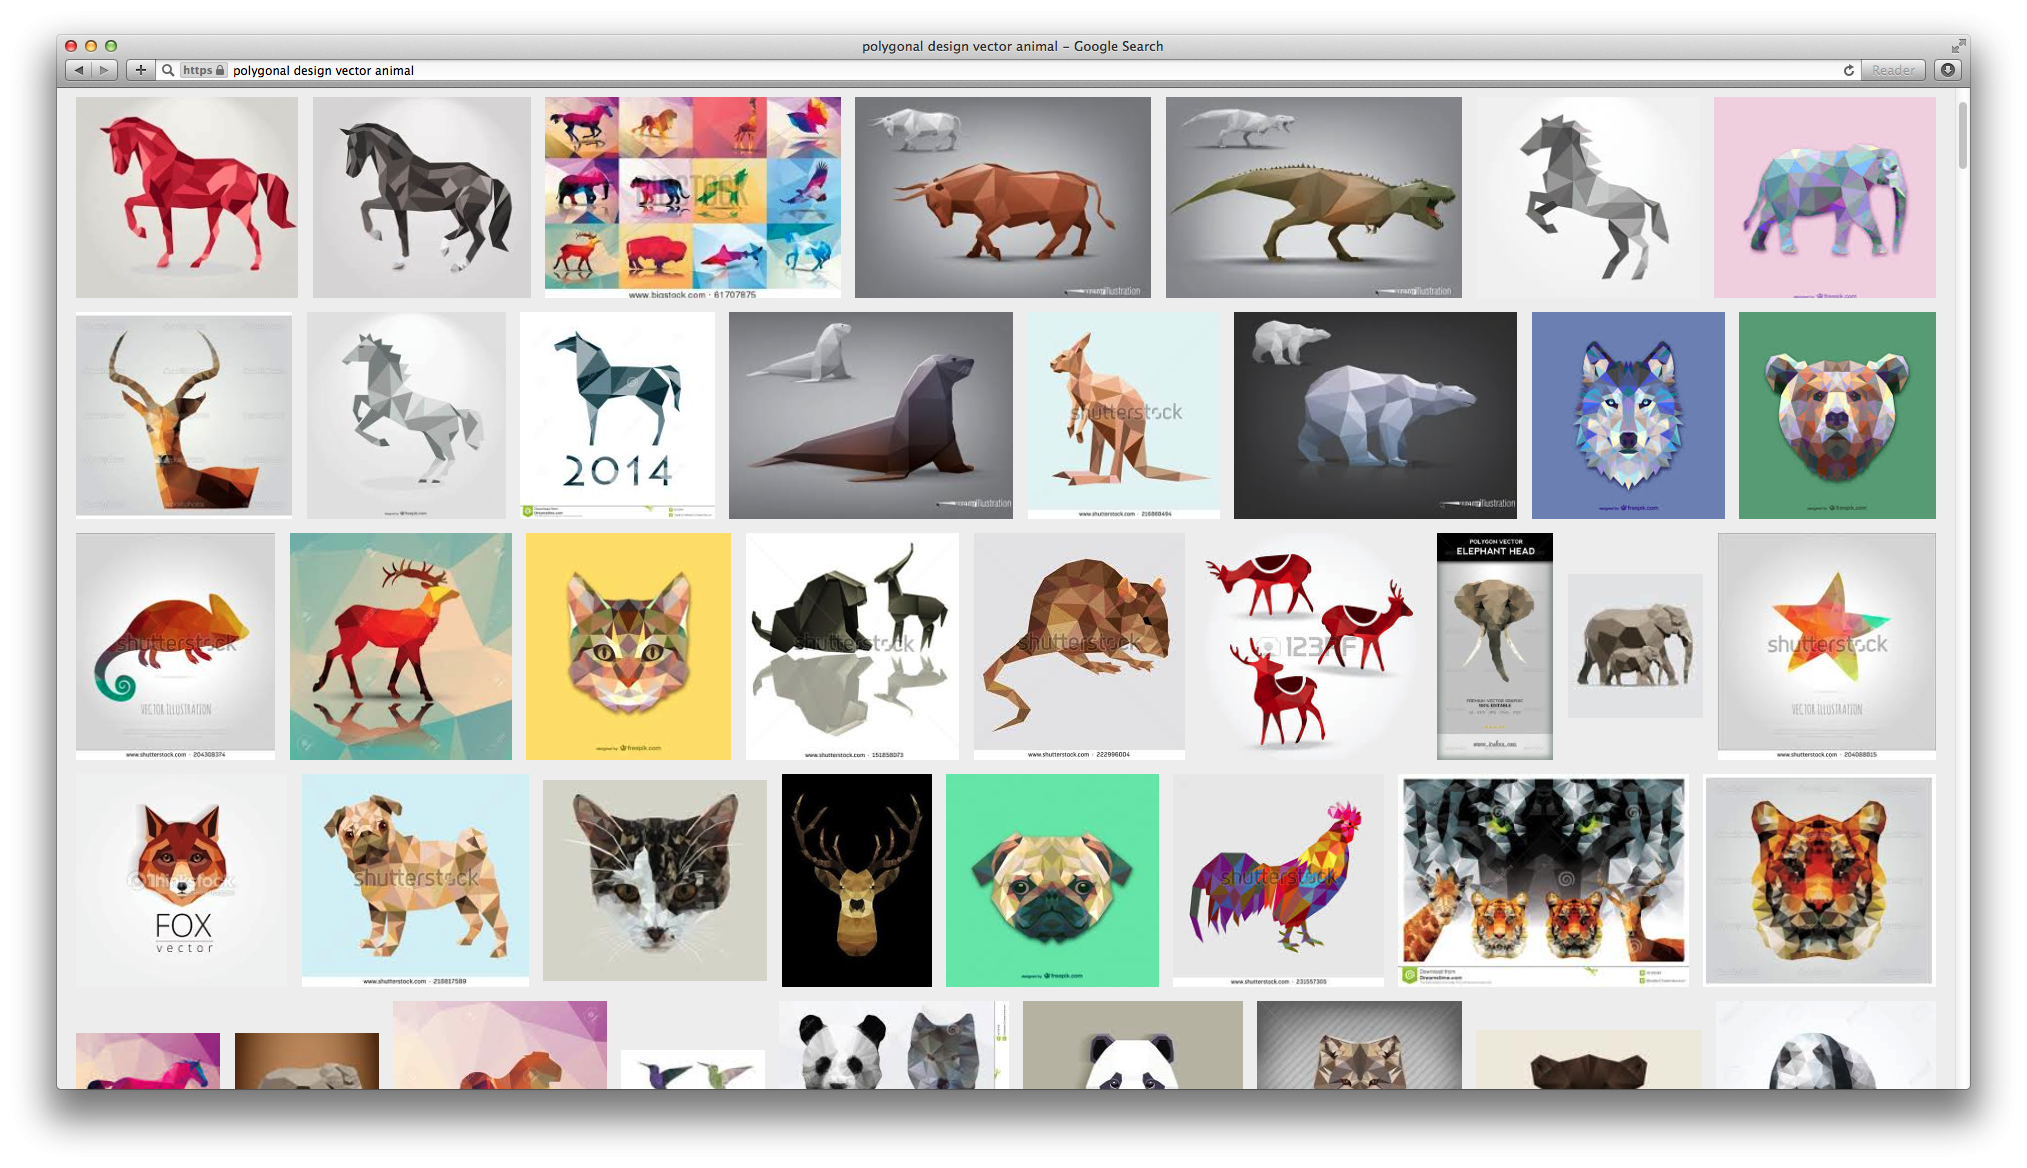
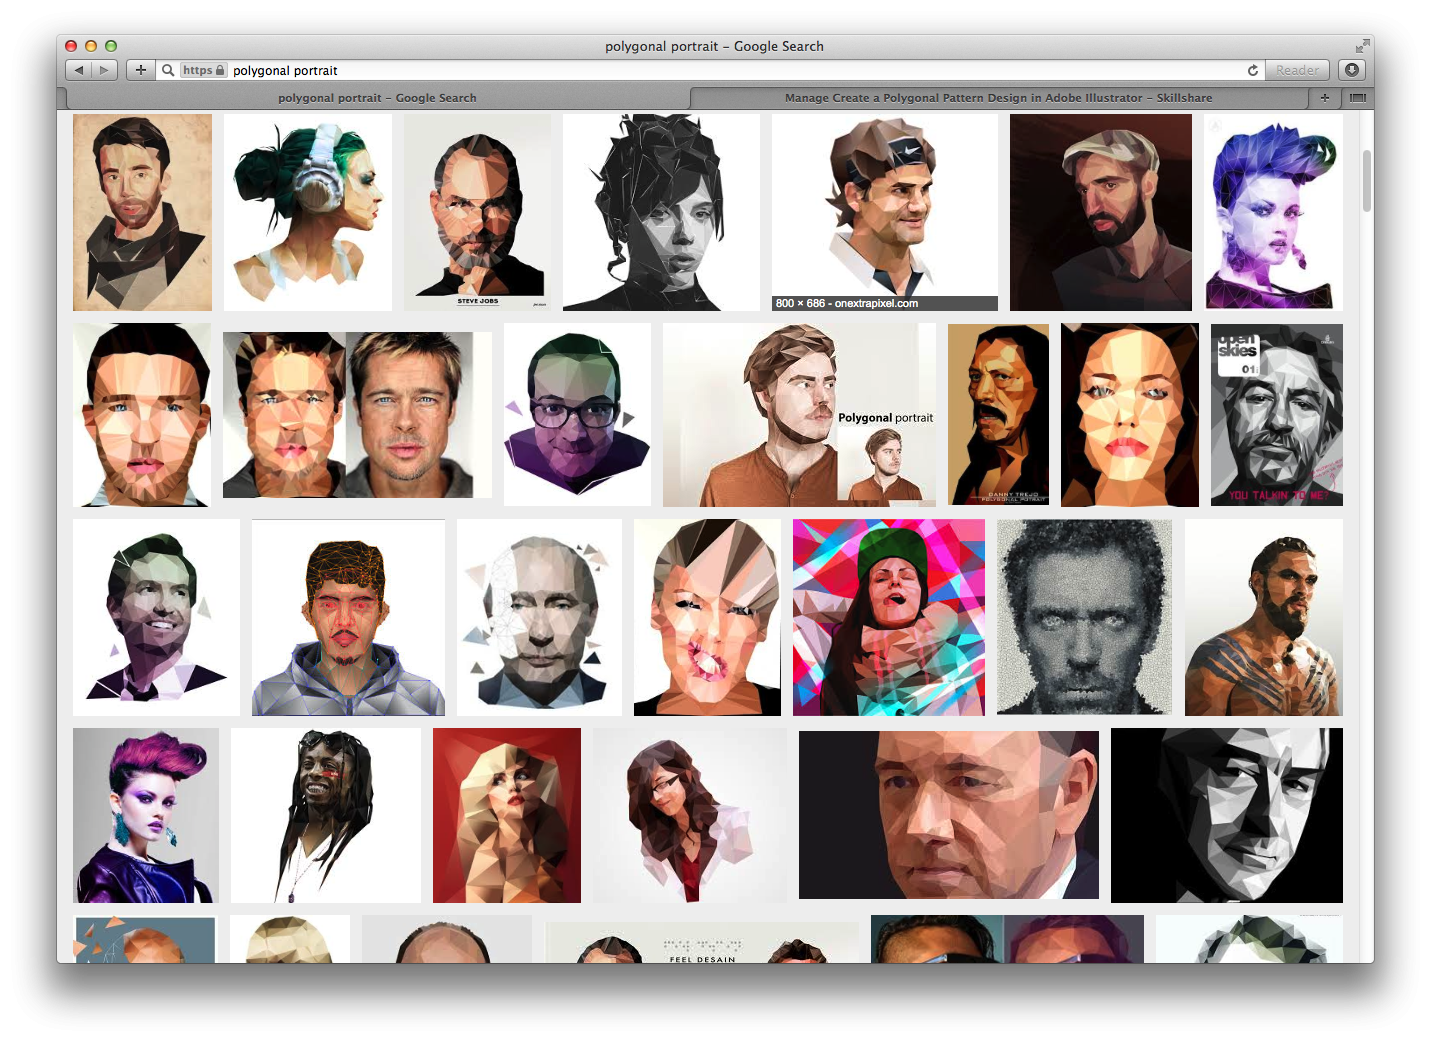
Inspiration for the Polygonal Avatar
Here is some inspiration to get your polygonal avatar juices flowing!
1-to-1 Skype Classes – get in touch.
If you would like to learn one-to-one then get in touch. I often consult with designers and creatives around the world on their projects. This is a great way to save time and to get your project moving quickly by learning the tools you need without having to work through hours of online tutorials.
Drop me an e-mail – design@benhalsall.com .
Just launched a web-site for the wonderfully talented musician @vickybarents #wordpress #happymonday #bournemouth #music #teacher
Just launched a web-site for the talented musician Vicky Barents. If you are in the Poole or Bournemouth area and need a teacher, saxophonist, flautist, singer or want to book the awesome Goodfoot Band for a function or wedding you are organising then check out her site – http://vickybarents.com .

From Qatar to Callifornia! A map that I’m keeping of everywhere I’m working in the world!
This week I’ve been teaching across the globe without even hopping on a plane! From London, England to Qatar and California its been a (pseudo)jet-set week! Here are some pins I’ve been sticking into a Google Map to keep track of where I’ve been (on Skype!).
Teach via @skype > record lesson with Quicktime Player > upload video to @wordpress blog for later review by student #teachingtips
Below is a screen shot of one of my student’s pages.
I’m teaching using Skype and then recording the lesson for later review. The videos themselves are hosted on Vimeo and then embedded here.
There are a few screen shots below because I recorded most of the lesson and then picked out a few small topics so that they could be reviewed in shorter sessions.
If you are interested in learning Adobe Illustrator, Adobe Photoshop or Apple’s Final Cut Pro then please don’t hesitate to get in touch with me by e-mail ( design@benhalsall.com ) or on Twitter ( @benhalsall ).

Learning Processing – Code Bits ( for @cawsand )
I’ve been teaching a little bit of Processing online via Skype lately and used these two simple bits of code to introduce variables and the structure of a processing sketch. Take a look and please don’t hesitate to get in touch if you have any questions.
Example 1 – Talking about the structure of a processing sketch

void setup() {
size(400,400);

}

void draw() {
stroke(255);

// mouseX is left and right
// mouseY is up and down
line(20,20,mouseX,mouseY);
//rect(mouseX,mouseY,10,10);
}

void mousePressed() {
background(192,64,0);
}
Example 2 – beginning to talk about repetition and incrementing variables

size(640, 360);

// These are my variables for size & colour
int my_width = 600;
int my_height = 25;
int color_r = 100;
int color_g = 0;
int color_b = 50;
int location_y = 20;

// This is where I draw things
fill(color_r,color_g,color_b); // fill(red,green,blue);
rect(20,location_y,my_width,my_height);
location_y = location_y+30;
color_g = color_g +20;
fill(color_r,color_g,color_b);
rect(20,location_y,my_width,my_height);
location_y = location_y+30;
color_g = color_g +20;
fill(color_r,color_g,color_b);
rect(20,location_y,my_width,my_height);
location_y = location_y+30;
color_g = color_g +20;
fill(color_r,color_g,color_b);
rect(20,location_y,my_width,my_height);
location_y = location_y+30;
color_g = color_g +20;
fill(color_r,color_g,color_b);
rect(20,location_y,my_width,my_height);
location_y = location_y+30;
color_g = color_g +20;
fill(color_r,color_g,color_b);
rect(20,location_y,my_width,my_height);
location_y = location_y+30;
color_g = color_g +20;
fill(color_r,color_g,color_b);
rect(20,location_y,my_width,my_height);
location_y = location_y+30;
color_g = color_g +20;
fill(color_r,color_g,color_b);
rect(20,location_y,my_width,my_height);
location_y = location_y+30;
color_g = color_g +20;
fill(color_r,color_g,color_b);
rect(20,location_y,my_width,my_height);
location_y = location_y+30;
color_g = color_g +20;
fill(color_r,color_g,color_b);
rect(20,location_y,my_width,my_height);
location_y = location_y+30;
color_g = color_g +20;
Final Cut Pro X Lesson – Beatboxing (a la Lasse Gjertsen)
Great Final Cut Pro lesson today covering the basics of making selections, editing to the timeline, timing and eye-trace.
Here is 7 seconds that kind of explains what we covered!
The timeline for this short edit looks like this.

The original inspiration for this class by Lasse Gjertsen.
HTML: Using Find & Replace for Smart Site Management
Find and replace is such an awesome timesaver if you can master how to use it. Here we look at a quick tip with a simple HTML fix in Adobe Dreamweaver but this tip can carry through to many applications and uses when you are dealing with large bodies of text or code. Well worth a watch if you plan to get into site or document management.
Final Cut Pro X: Create Transparency Using Keys & Animation
Here you will learn the fundamentals of using a key to composite a still image onto another image or video. You will then go on to look at how to create keyframes animations with multiple versions of that image.