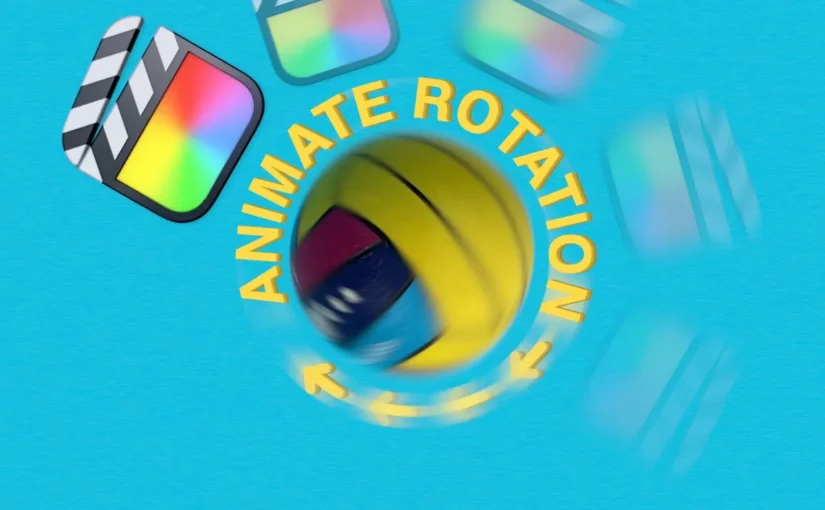
Final Cut Pro rotation animation is easiest to control when you use keyframes instead of built-in transitions. In this tutorial, you’ll learn how to create a smooth rotation animation in Final Cut Pro using keyframes, giving you precise control over timing, direction, masking, and motion blur.
In this guide, you’ll learn how to create a smooth rotation animation in Final Cut Pro using keyframes, giving you precise control over timing, direction, and where the animation stops.
This technique works for images, logos, graphics, and motion elements — and doesn’t require any plugins.
Why Built-In Final Cut Pro Rotation Animations Are Limited
Final Cut Pro includes rotation and movement transitions that can be applied at the start or end of a clip. While these are quick to use, they come with limitations:
- You can’t rotate a full 360 degrees
- You have minimal control over timing
- The animation always happens at the clip edge
- Fine adjustments are difficult or impossible
For anything more than a basic effect, keyframe animation is the better option.
Creating a Final Cut Pro Rotation Animation with Keyframes
Keyframes allow you to define exactly how an object changes over time. When animating rotation, this means you can control:
- How far an object rotates
- How fast it spins
- Where the animation starts and stops
- Whether the motion feels smooth or abrupt
To begin, place your clip on the timeline and open the Video Inspector. Under the Transform settings, you’ll find the rotation parameter.
Add a keyframe at the start of the clip, then move the playhead forward and set a second keyframe where you want the rotation to end. Adjust the rotation value, and Final Cut Pro will animate between those points.
Learn More About Final Cut Pro Keyframe Animation
If you want a deeper understanding of how keyframes work in Final Cut Pro, Apple’s official documentation explains how to animate effects, control timing, and adjust parameters using keyframes.
Find out more: Apple’s official guide to animating effects with keyframes in Final Cut Pro
https://support.apple.com/en-ca/guide/final-cut-pro/ver8e3f20ea/11.2/mac/15.6
Setting the Anchor Point for a Clean Rotation Animation
By default, objects may rotate around an unexpected point. To fix this, adjust the anchor point so it sits in the visual center of your object.
This is especially important for circular objects, logos, or anything meant to spin in place. Even a small anchor point adjustment can dramatically improve how natural the animation looks.
Removing Backgrounds for Rotation Animation in Final Cut Pro
If your object has a visible background, you can isolate it using a shape mask:
- Apply a shape mask effect
- Resize and position it around the object
- Curve the edges to match the shape
- Reduce feathering for a clean edge
For best results, it often helps to place a solid color behind the object that closely matches the original background. This minimizes edge halos and makes the mask look more natural.
Adding Motion Blur to a Final Cut Pro Rotation Animation
Rotation animations can look unnatural if everything stays perfectly sharp. Adding a subtle radial blur introduces motion blur that makes the movement feel more realistic.
You can keyframe the blur amount so it appears during the rotation and disappears when the object stops moving. This small detail can make a big difference in perceived quality.
Controlling Speed and Timing in Final Cut Pro Rotation Animations
To fine-tune your animation:
- Move keyframes closer together to speed it up
- Spread them further apart to slow it down
- Increase rotation values for faster spins
- Remove or delete keyframes to stop motion instantly
Viewing the animation controls in the timeline makes it easier to see how changes affect timing.
When to Use This Technique
This rotation animation approach is ideal for:
- Tutorials and explainer videos
- Logos and branding elements
- Motion graphics and intros
- Educational and instructional content
- Social media clips
If you want predictable, professional animation in Final Cut Pro, keyframes are essential.
Final Thoughts
Learning how to rotate objects using keyframes in Final Cut Pro unlocks a level of control that basic transitions simply can’t match. Once you understand how anchor points, masks, and motion blur work together, you can create clean, polished animations without relying on third-party tools.
If you’re serious about improving your Final Cut Pro animations, this is a core technique worth mastering.
Want Help Applying This in Your Own Final Cut Pro Projects?
If you want hands-on help applying this Final Cut Pro animation technique to your own projects, I offer one-to-one online Final Cut Pro training. Sessions are flexible, focused on real editing problems, and tailored to your workflow — whether you’re just getting started or refining advanced animation and keyframe techniques.
👉 Find out more: One-to-one Final Cut Pro training