Category: Uncategorized
Metropolis (restoration trailer) [art+research] via @YouTube
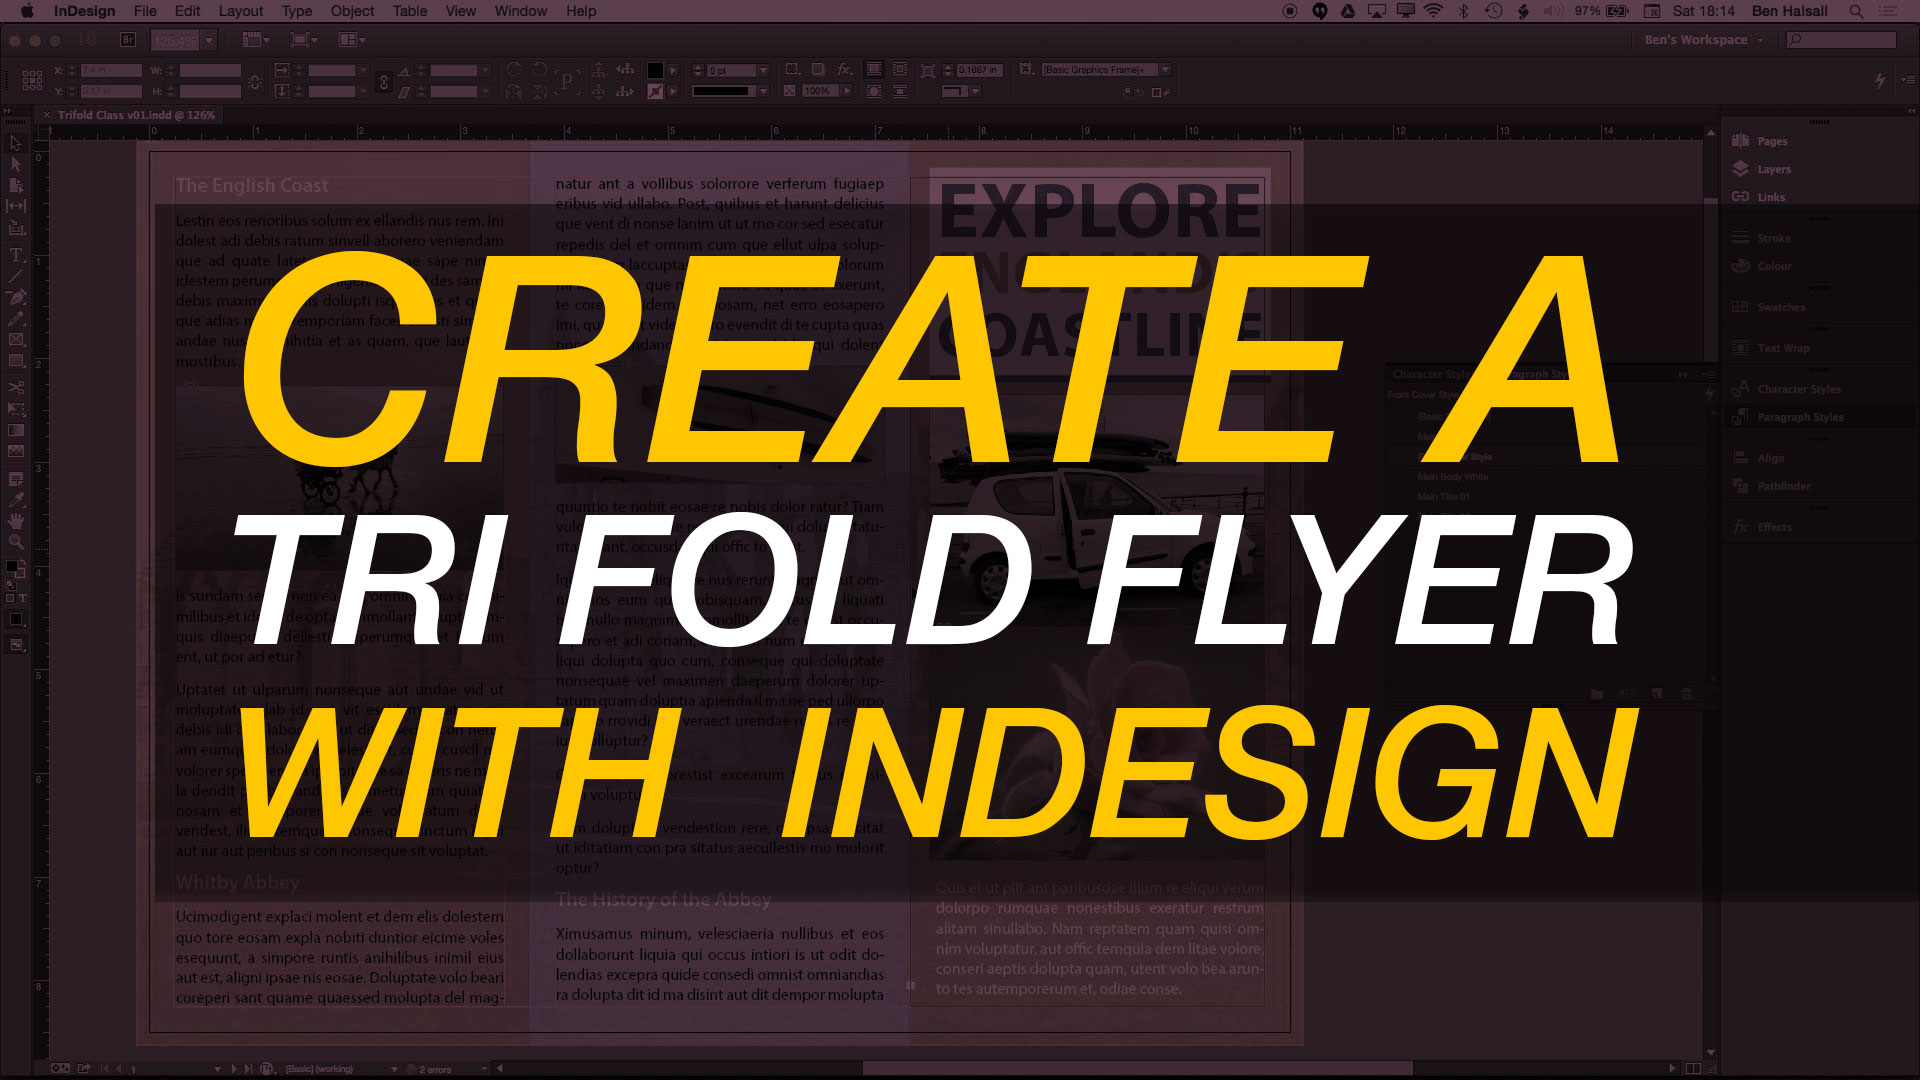
InDesign: Create a Trifold Flyer #adobeindesign @skillshare #indesign #yqr #yxe #yvr #yyc #yow #graphicdesign
[et_pb_section admin_label=”section”][et_pb_row admin_label=”row”][et_pb_column type=”2_3″][et_pb_text admin_label=”Text” background_layout=”light” text_orientation=”left” use_border_color=”off” border_color=”#ffffff” border_style=”solid”]
Enrol for free!
Free Enrolment: http://skl.sh/2cIkSce
Premium Enrolment: http://skl.sh/2cRItbk
In this 16 part class you will design a tri fold flyer running through everything you need from project setup to print.
You will cover the following:
- Project Setup
- Working with layers
- Adding background images
- Add color effects to backgrounds
- Custom graphic backgrounds
- Add & work with type
- Creating paragraph styles for text & titles
- Adding images
- Text wraps
- Custom shaped image frames
- Create reverses for your type design
- Paragraph rules to customise title backgrounds
- Exporting for print with guides and bleeds
As you work through each section you will receive tips and tricks for creating great looking flyer designs in Adobe InDesign.
The skills covered are transferable to any InDesign project and this class is suitable for users at all levels.
Check out the GIF below for a quick preview or click here to enrol for free.
[/et_pb_text][/et_pb_column][et_pb_column type=”1_3″][et_pb_text admin_label=”Text” background_layout=”light” text_orientation=”left” use_border_color=”off” border_color=”#ffffff” border_style=”solid”]
[/et_pb_text][/et_pb_column][/et_pb_row][/et_pb_section]
Riding Through Walls – approaching Medecine Hat, AB [art+research] via @YouTube
Final Cut Pro X Beginner Tutorial: View Your Audio Waveform Clearly #fcpx
[et_pb_section admin_label=”section”][et_pb_row admin_label=”row”][et_pb_column type=”2_3″][et_pb_text admin_label=”Text” background_layout=”light” text_orientation=”left” use_border_color=”off” border_color=”#ffffff” border_style=”solid”]
If you are editing music or dialogue then accurate audio editing is essential. In this beginner Final Cut Pro X beginner tutorial you will learn how to increase the size of the audio waveform on your timeline as well as looking at how to make accurate frame-by-frame edits of your audio.
– – – – – – – – – – – – – – – – – – – – – – – – – – – – – – – – – – – – – – – – – – – – – – – – – – – – – – –
About My Final Cut Pro X Tutorials
My Final Cut Pro X help tutorials aim to answer the tricky questions that users come across everyday. These are great classes if you want to learn Final Cut Pro X and each lesson or tip will guide you through in easy to follow steps.
If you are a beginner looking for tutorials in Final Cut Pro X take a look at my free introductory lesson “Final Cut Pro X Beginner Tutorial : Import, Edit & Export in 25 Minutes” which will get you started. This basic tutorial gives you a full run through of how to what you need to know in order to edit videos.
– – – – – – – – – – – – – – – – – – – – – – – – – – – – – – – – – – – – – – – – – – – – – – – – – – – – – – –
About My Live Online Training & In Classroom Training
I am a professional trainer of Final Cut Pro X, Adobe Premiere Pro, Adobe Photoshop, Adobe InDesign, Adobe Acrobat Pro & Adobe Illustrator.
I regularly teach classes in Regina and across Saskatchewan as well as running live online workshops. If you’d like to find out more then please drop me a message design@benhalsall.com or visit my web-site www.benhalsall.com .
[/et_pb_text][et_pb_blog admin_label=”Blog” fullwidth=”on” include_categories=”1806″ show_thumbnail=”on” show_content=”off” show_more=”off” show_author=”on” show_date=”on” show_categories=”on” show_comments=”on” show_pagination=”on” offset_number=”0″ use_overlay=”off” background_layout=”light” use_dropshadow=”off” use_border_color=”off” border_color=”#ffffff” border_style=”solid”] [/et_pb_blog][/et_pb_column][et_pb_column type=”1_3″][et_pb_text admin_label=”Text” background_layout=”light” text_orientation=”left” use_border_color=”off” border_color=”#ffffff” border_style=”solid”]
[/et_pb_text][et_pb_text admin_label=”Text” background_layout=”light” text_orientation=”left” use_border_color=”off” border_color=”#ffffff” border_style=”solid”]
[/et_pb_text][/et_pb_column][/et_pb_row][/et_pb_section]
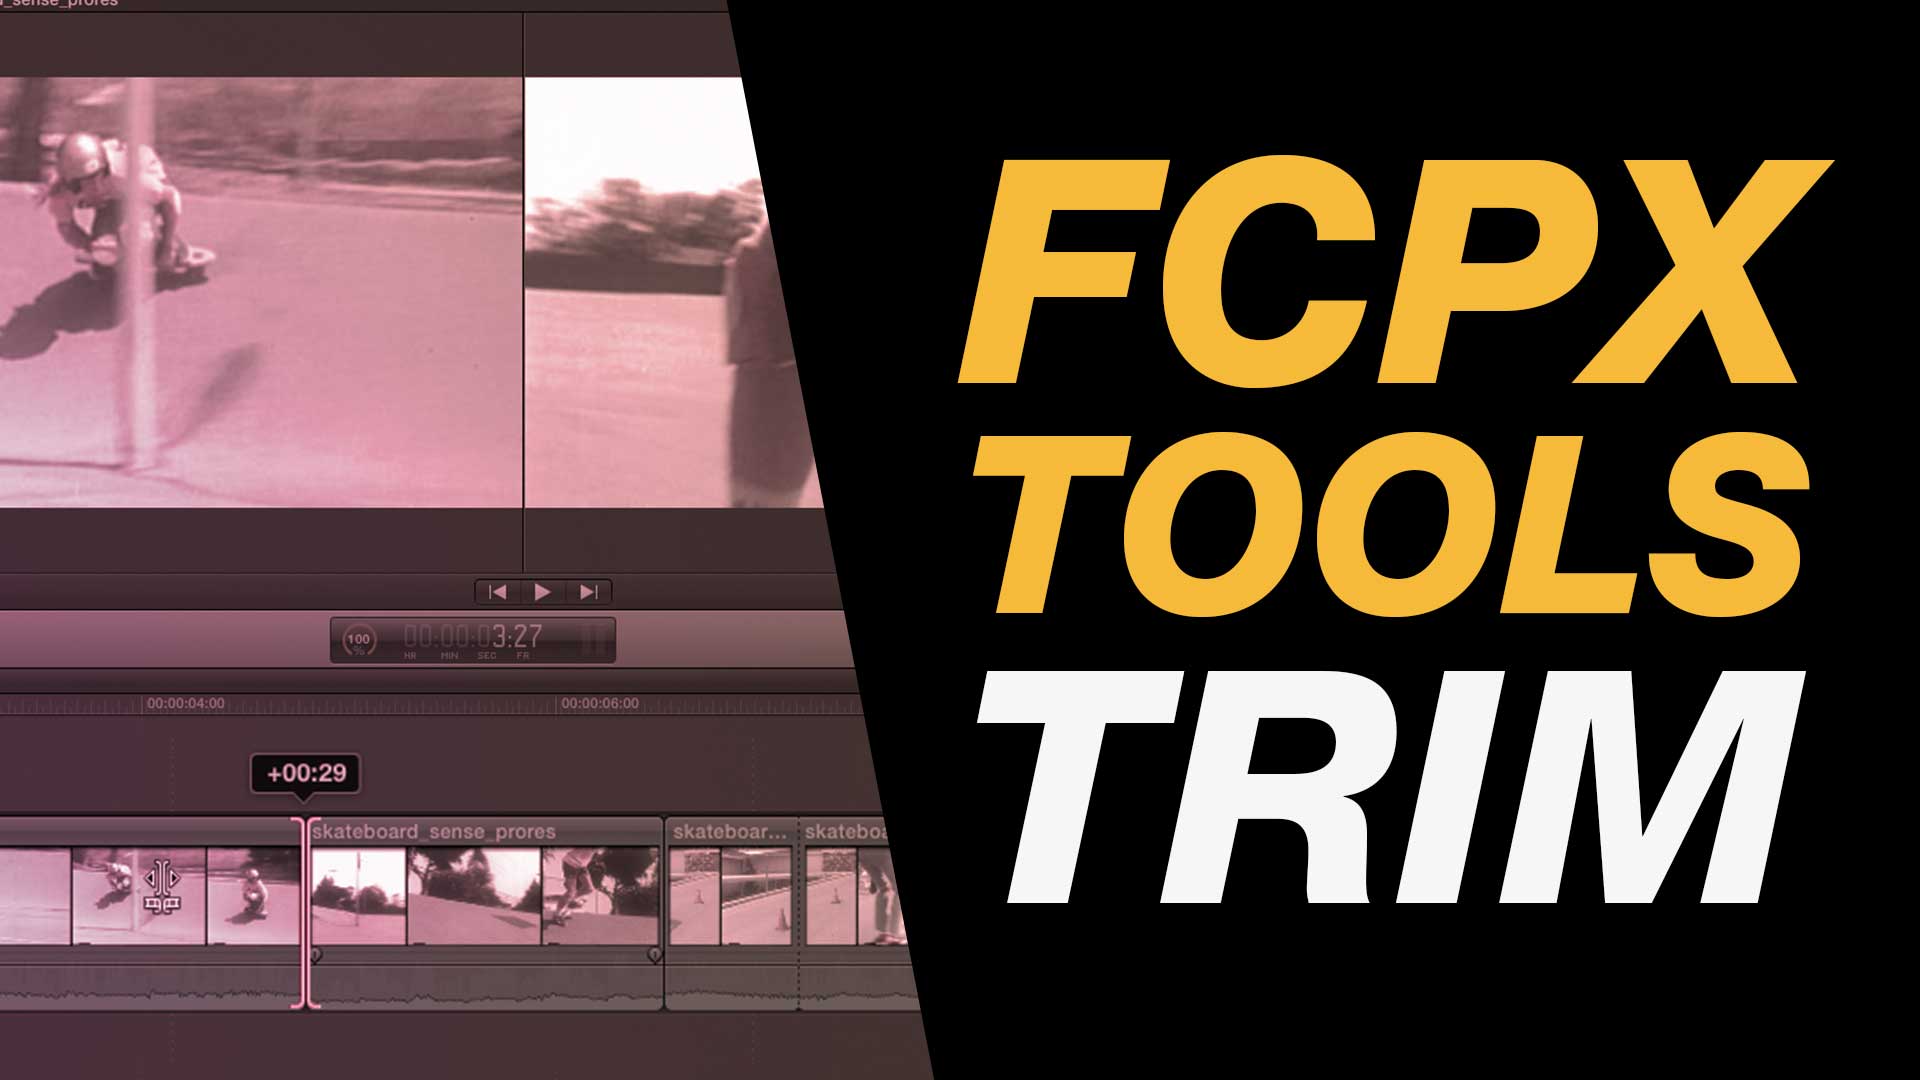
Final Cut Pro X Tutorial: Trim Tool for Video Editing Control & Precision Timing
[et_pb_section admin_label=”section”][et_pb_row admin_label=”row”][et_pb_column type=”2_3″][et_pb_text admin_label=”Text” background_layout=”light” text_orientation=”left” use_border_color=”off” border_color=”#ffffff” border_style=”solid”]
If you need to nudge those edits without changing the timing of things in your timeline then the trim tool can be the perfect tool for the job. In this helpful tutorial you will learn how the trim tool can be used to gain control over your edits, time edits to beats, create J & L cuts for better audio and video flow.
The tips and tricks covered in this tutorial are invaluable in lots of different aspects of Final Cut Pro X including:
– timing edits with beats
– managing cuts for better dialogue flow
– trimming connected clips
– slipping your edits
– – – – – – – – – – – – – – – – – – – – – – – – – – – – – – – – – – – – – – – – – – – – – – – – – – – – – – –
About My Final Cut Pro X Tutorials
My Final Cut Pro X help tutorials aim to answer the tricky questions that users come across everyday. These are great classes if you want to learn Final Cut Pro X and each lesson or tip will guide you through in easy to follow steps.
If you are a beginner looking for tutorials in Final Cut Pro X take a look at my free introductory lesson “Final Cut Pro X Beginner Tutorial : Import, Edit & Export in 25 Minutes” which will get you started. This basic tutorial gives you a full run through of how to what you need to know in order to edit videos.
– – – – – – – – – – – – – – – – – – – – – – – – – – – – – – – – – – – – – – – – – – – – – – – – – – – – – – –
[/et_pb_text][/et_pb_column][et_pb_column type=”1_3″][et_pb_text admin_label=”Text” background_layout=”light” text_orientation=”left” use_border_color=”off” border_color=”#ffffff” border_style=”solid”]
[/et_pb_text][/et_pb_column][/et_pb_row][/et_pb_section]
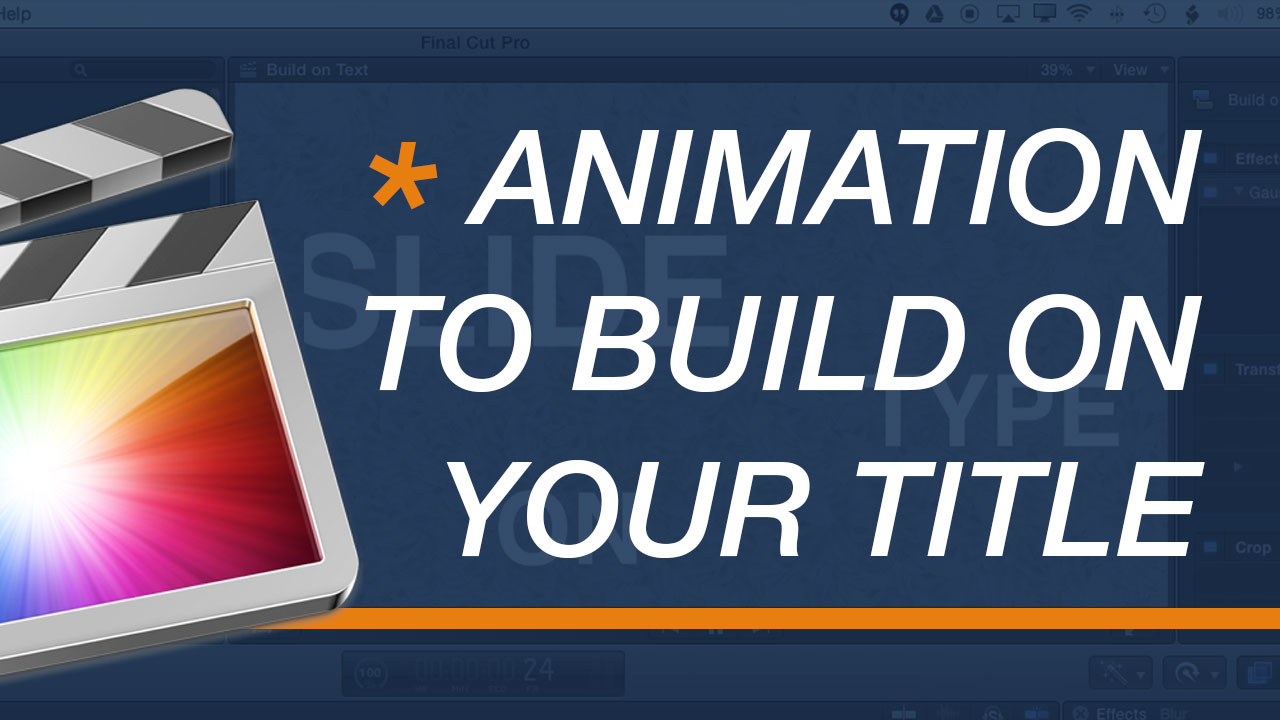
Final Cut Pro X Tutorial: Build on Type Animation using Keyframes #fcpx #finalcutpro #typography #animation
[et_pb_section admin_label=”section”][et_pb_row admin_label=”row”][et_pb_column type=”2_3″][et_pb_text admin_label=”Text” background_layout=”light” text_orientation=”left” use_border_color=”off” border_color=”#ffffff” border_style=”solid”]
Effects are great but there is nothing like using keyframes to make sure you get your timing spot on. The flexibility and control that Final Cut Pro X offers with keyframes for different aspects of your clips, type or generated objects is awesome. This tutorial focuses on a simple type animation that can be used to build on a simple phrase or title.
The tips and tricks covered in this tutorial are invaluable in lots of different aspects of Final Cut Pro X including:
– Keyframing Animation
– Working with Compound Clips (grouping clips)
– Adding Transitions
– Keyframing Effects
– – – – – – – – – – – – – – – – – – – – – – – – – – – – – – – – – – – – – – – – – – – – – – – – – – – – – – –
About My Final Cut Pro X Tutorials
My Final Cut Pro X help tutorials aim to answer the tricky questions that users come across everyday. These are great classes if you want to learn Final Cut Pro X and each lesson or tip will guide you through in easy to follow steps.
If you are a beginner looking for tutorials in Final Cut Pro X take a look at my free introductory lesson “Final Cut Pro X Beginner Tutorial : Import, Edit & Export in 25 Minutes” which will get you started. This basic tutorial gives you a full run through of how to what you need to know in order to edit videos.
[/et_pb_text][/et_pb_column][et_pb_column type=”1_3″][et_pb_text admin_label=”Text” background_layout=”light” text_orientation=”left” use_border_color=”off” border_color=”#ffffff” border_style=”solid”]
[/et_pb_text][/et_pb_column][/et_pb_row][/et_pb_section]
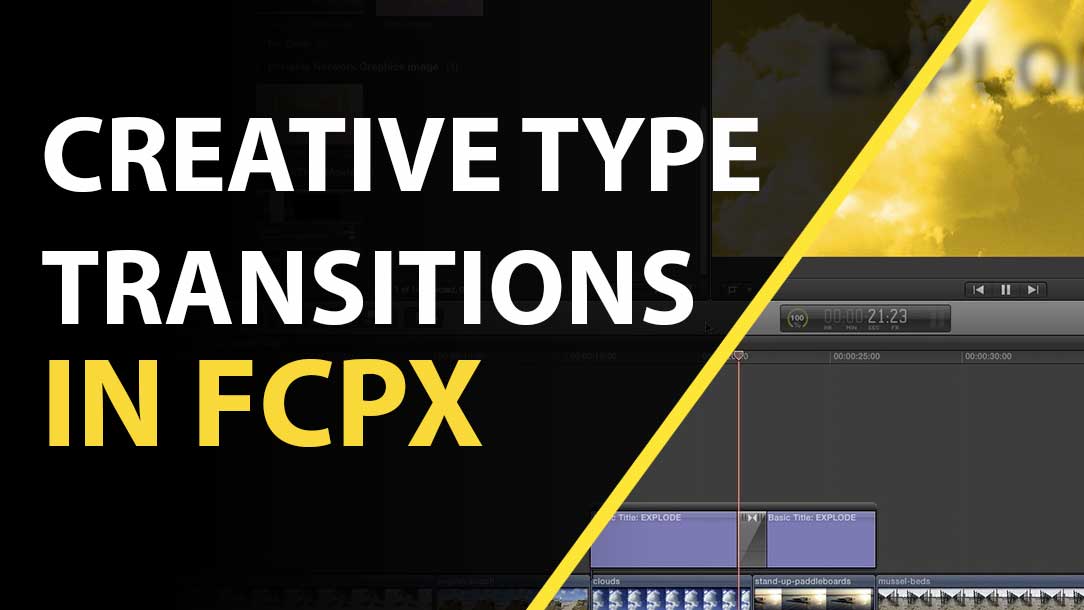
Final Cut Pro X Tutorial: Custom Title Transitions #FCPX #FCPXAMA #FinalCutPro #Free
[et_pb_section admin_label=”section”][et_pb_row admin_label=”row”][et_pb_column type=”2_3″][et_pb_text admin_label=”Text” background_layout=”light” text_orientation=”left” use_border_color=”off” border_color=”#ffffff” border_style=”solid”]
In this class we look at some creative ways in which you can create awesome title transitions in Final Cut Pro X. You will learn how to work with layers, how to add layer effects and of course how to work with different transitions on both your connected type and video layers.
– – – – – – – – – – – – – – – – – – – – – – – – – – – – – – – – – – – – – – – – – – – – – – – – – – – – – – –
About My Final Cut Pro X Tutorials
My Final Cut Pro X help tutorials aim to answer the tricky questions that users come across everyday. These are great classes if you want to learn Final Cut Pro X and each lesson or tip will guide you through in easy to follow steps.
If you are a beginner looking for tutorials in Final Cut Pro X take a look at my free introductory lesson Final Cut Pro X Beginner Tutorial : Import, Edit & Export in 25 Minutes which will get you started. This basic tutorial gives you a full run through of how to what you need to know in order to edit videos.
[/et_pb_text][/et_pb_column][et_pb_column type=”1_3″][et_pb_text admin_label=”Text” background_layout=”light” text_orientation=”left” use_border_color=”off” border_color=”#ffffff” border_style=”solid”]
[/et_pb_text][/et_pb_column][/et_pb_row][/et_pb_section]
Final Cut Pro X Tutorial: Creating Scrolling Ending Credits for FCPX with InDesign via @tpayton
[et_pb_section admin_label=”section”][et_pb_row admin_label=”row”][et_pb_column type=”2_3″][et_pb_text admin_label=”Text” background_layout=”light” text_orientation=”left” use_border_color=”off” border_color=”#ffffff” border_style=”solid”]
In this great tutorial Tom Payton shows you how to create scrolling end credits using Adobe InDesign.
This is a great way to get control over the type and image layout of your Final Cut Pro X credit rolls.
[/et_pb_text][et_pb_text admin_label=”Text” background_layout=”light” text_orientation=”left” use_border_color=”off” border_color=”#ffffff” border_style=”solid”]
If you are looking for a beginner Final Cut Pro X tutorial to help demonstrate how to make scrolling titles then check out my YouTube tutorial below.
Final Cut Pro X Beginner Tutorial: Create A Credit Roll (Scrolling Credits)
[/et_pb_text][/et_pb_column][et_pb_column type=”1_3″][et_pb_text admin_label=”Text” background_layout=”light” text_orientation=”left” use_border_color=”off” border_color=”#ffffff” border_style=”solid”]
[/et_pb_text][/et_pb_column][/et_pb_row][/et_pb_section]
Override Clip Connections in Final Cut Pro X via @editblog #fcpx #tips #finalcutprox
[et_pb_section admin_label=”section”][et_pb_row admin_label=”row”][et_pb_column type=”2_3″][et_pb_text admin_label=”Text” background_layout=”light” text_orientation=”left” use_border_color=”off” border_color=”#ffffff” border_style=”solid”]
I recently made a video about working with and controlling connected clips in Final Cut Pro X. You can check this out on YouTube here.
There are a couple of extra, and very useful, tips for working with connected clips using the TILDE (~) shortcut that allows you to make edits whilst overriding existing connections. You can read a little more about this in Scott Simmons post on the Pro Video Coalition site:
DAY 4 #28DAYSOFQUICKTIPS – OVERRIDE CLIP CONNECTIONS IN FINAL CUT PRO X
[/et_pb_text][/et_pb_column][et_pb_column type=”1_3″][et_pb_text admin_label=”Text” background_layout=”light” text_orientation=”left” use_border_color=”off” border_color=”#ffffff” border_style=”solid”]
[/et_pb_text][/et_pb_column][/et_pb_row][/et_pb_section]
