Author: Ben Halsall
Tomorrow belongs to nobody by Amelia Crouch [art+research]
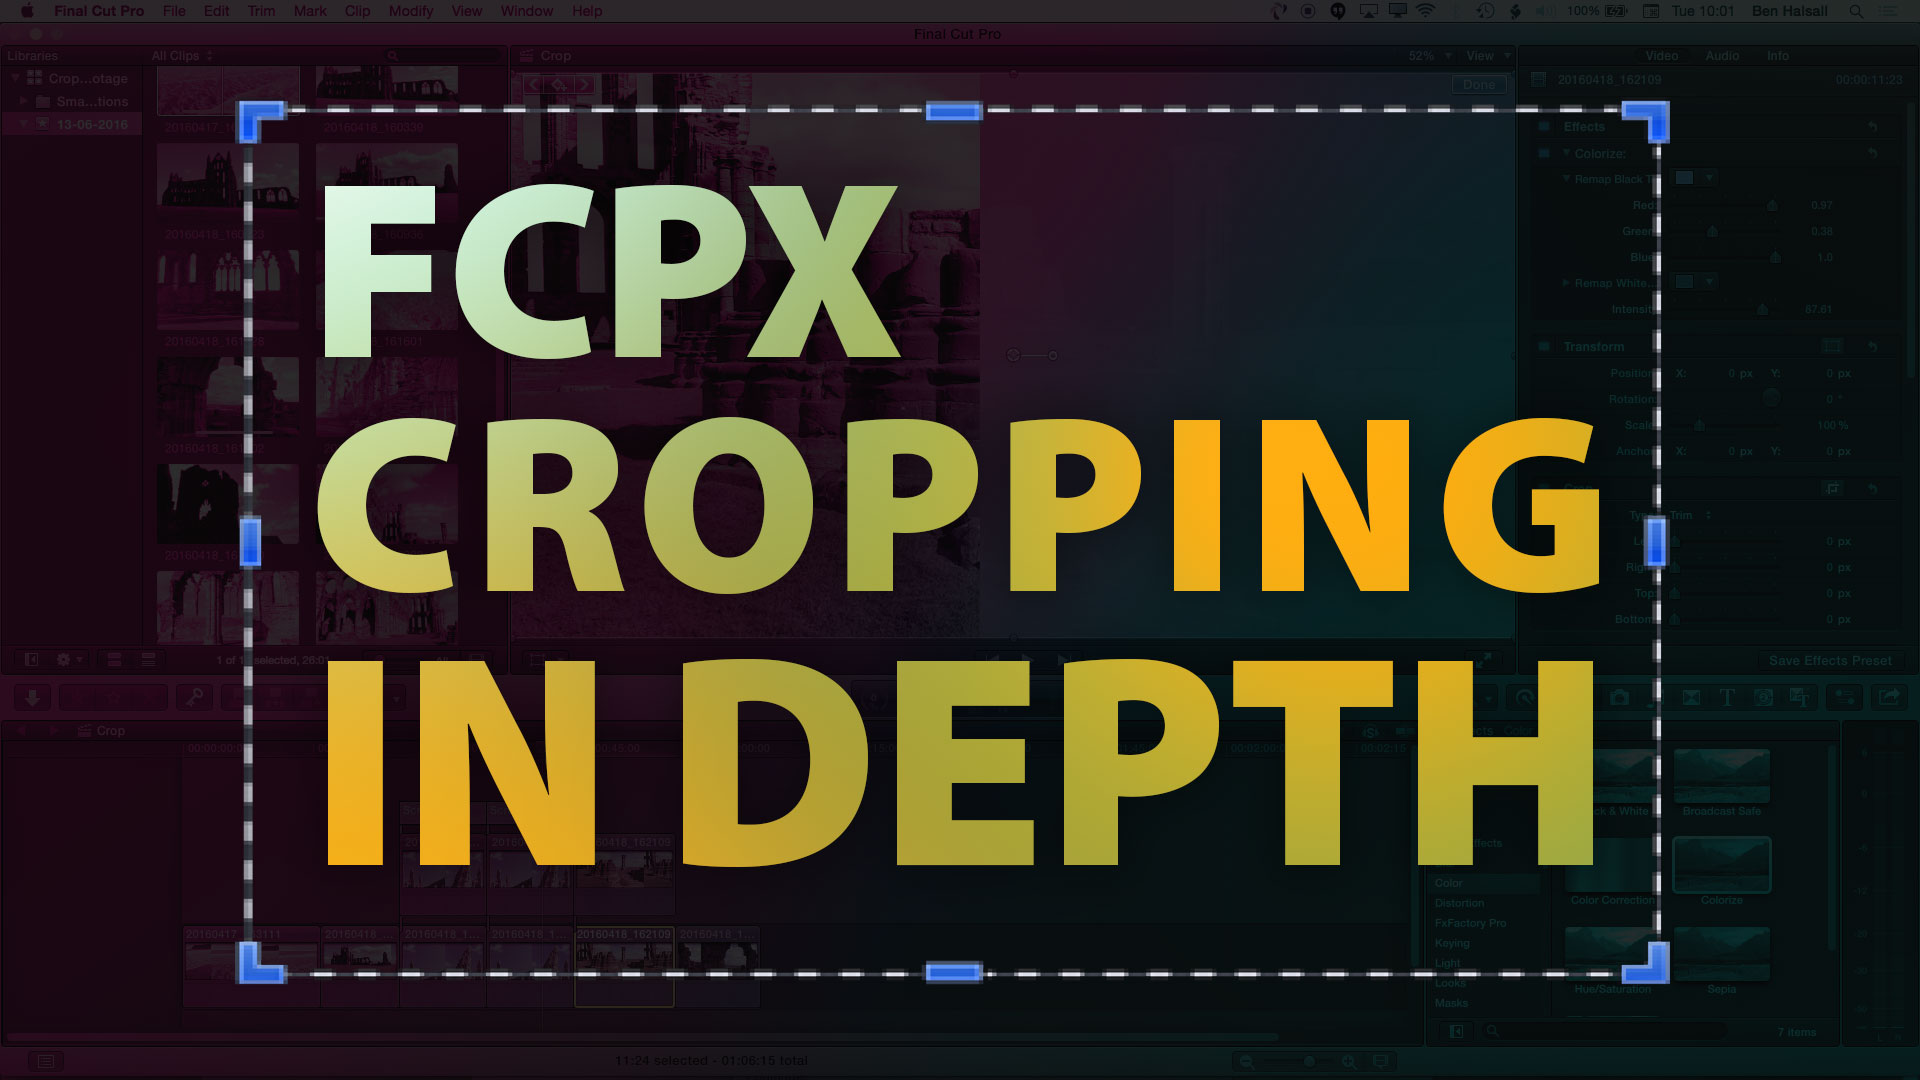
Final Cut Pro X: Cropping in Depth with Practical Examples #FCPXAMA #FCPX #VideoEditing
[et_pb_section admin_label=”section”][et_pb_row admin_label=”row”][et_pb_column type=”2_3″][et_pb_text admin_label=”Text” background_layout=”light” text_orientation=”left” use_border_color=”off” border_color=”#ffffff” border_style=”solid”]
In this tutorial we look at practical examples where you can use Final Cut Pro X’s different cropping tools. Whether you need to re-frame, crop, create a split screen or animate a slideshow using the Ken Burns effect this lesson has it covered.
We look at how to combine the use of the crop tool with effects and explore more advanced ways of cropping and compositing clips using the Draw Mask tool.
About me:
I am Ben Halsall and I offer video production, video editing & graphic design services to small and medium sized businesses. I also offer training courses for video editors starting out Final Cut Pro X or Premiere Pro CC as well as teaching designers how to master Adobe InDesign, Adobe Photoshop & Adobe Illustrator.
I have been working and creating projects for video, print and the internet since 1996.
If you would like to find out more about what I do then check out my video & design services or the list of training courses I can offer at www.benhalsall.com .
If you have a question about a video or design project, or perhaps you need customised training, then please don’t hesitate to get in touch. You can also book here for online consultancy or one-to-one training.
[/et_pb_text][/et_pb_column][et_pb_column type=”1_3″][et_pb_text admin_label=”Text” background_layout=”light” text_orientation=”left” use_border_color=”off” border_color=”#ffffff” border_style=”solid”]
[/et_pb_text][/et_pb_column][/et_pb_row][/et_pb_section]
Final Cut Pro X: Effects in Depth + Examples #FCPXAMA #FinalCutProX #Tutorial #YQR #NYC #YXE #YYZ
[et_pb_section admin_label=”section”][et_pb_row admin_label=”row”][et_pb_column type=”2_3″][et_pb_text admin_label=”Text”]
Here we take a look at effects in Final Cut Pro X, how to manage and control colour when applying them, how to use them in some practical situations when adding titles or faking a pull of focus. I hope you enjoy the tutorial and if you have any questions about effects or other tools in FCPX then drop me a message or tweet me @benhalsall . Enjoy!
[/et_pb_text][et_pb_text admin_label=”Text” background_layout=”light” text_orientation=”left” use_border_color=”off” border_color=”#ffffff” border_style=”solid”]
About Me
Hello. My name is Ben and I offer video production, video editing & graphic design services to small and medium sized businesses. I also offer training courses for video editors starting out Final Cut Pro X or Premiere Pro CC as well as teaching designers how to master Adobe InDesign, Adobe Photoshop & Adobe Illustrator.
I have been working and creating projects for video, print and the internet since 1996.
If you would like to find out more about what I do then check out my video & design servicesor the list of training courses I can offer.
If you have a question about a video or design project, or perhaps you need customised training, then please don’t hesitate to get in touch. You can also book here for online consultancy or one-to-one training.
[/et_pb_text][/et_pb_column][et_pb_column type=”1_3″][et_pb_text admin_label=”Text” background_layout=”light” text_orientation=”left” use_border_color=”off” border_color=”#ffffff” border_style=”solid”]
[/et_pb_text][/et_pb_column][/et_pb_row][/et_pb_section]
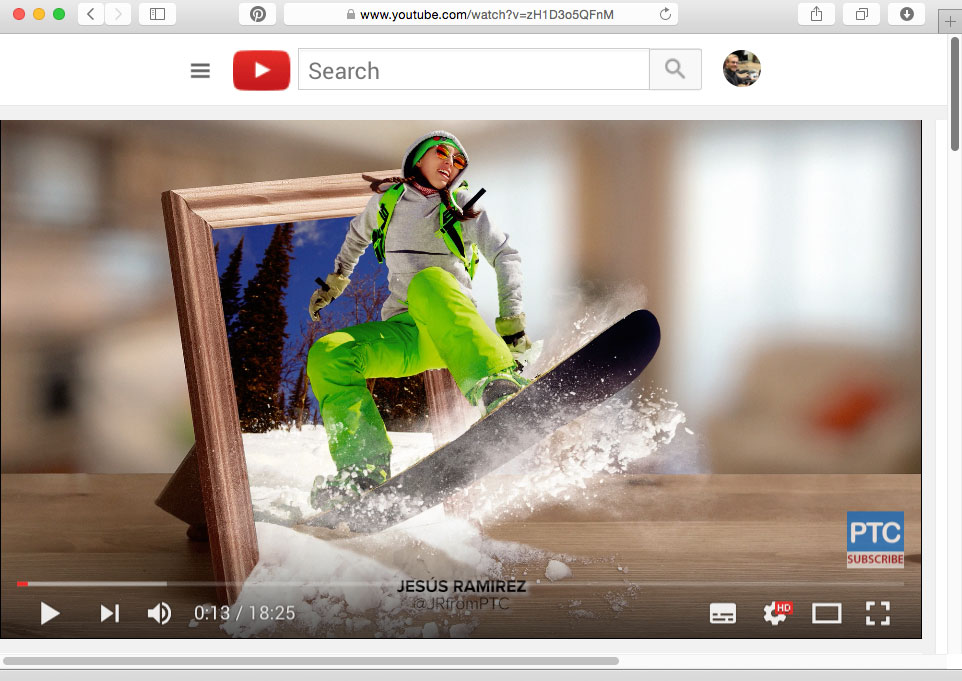
Great Pop-Out Photo Effect Tutorial from Jesús Ramirez
[et_pb_section admin_label=”section”][et_pb_row admin_label=”row”][et_pb_column type=”2_3″][et_pb_text admin_label=”Text” background_layout=”light” text_orientation=”left” use_border_color=”off” border_color=”#ffffff” border_style=”solid”]
Check out this great Photoshop tutorial from Jesús Ramirez’s YouTube channel. It covers some great tips for using layer masks for this awesome pop-out photo effect. Definitely worth a watch.
[/et_pb_text][/et_pb_column][et_pb_column type=”1_3″][et_pb_text admin_label=”Text” background_layout=”light” text_orientation=”left” use_border_color=”off” border_color=”#ffffff” border_style=”solid”]
[/et_pb_text][/et_pb_column][/et_pb_row][/et_pb_section]
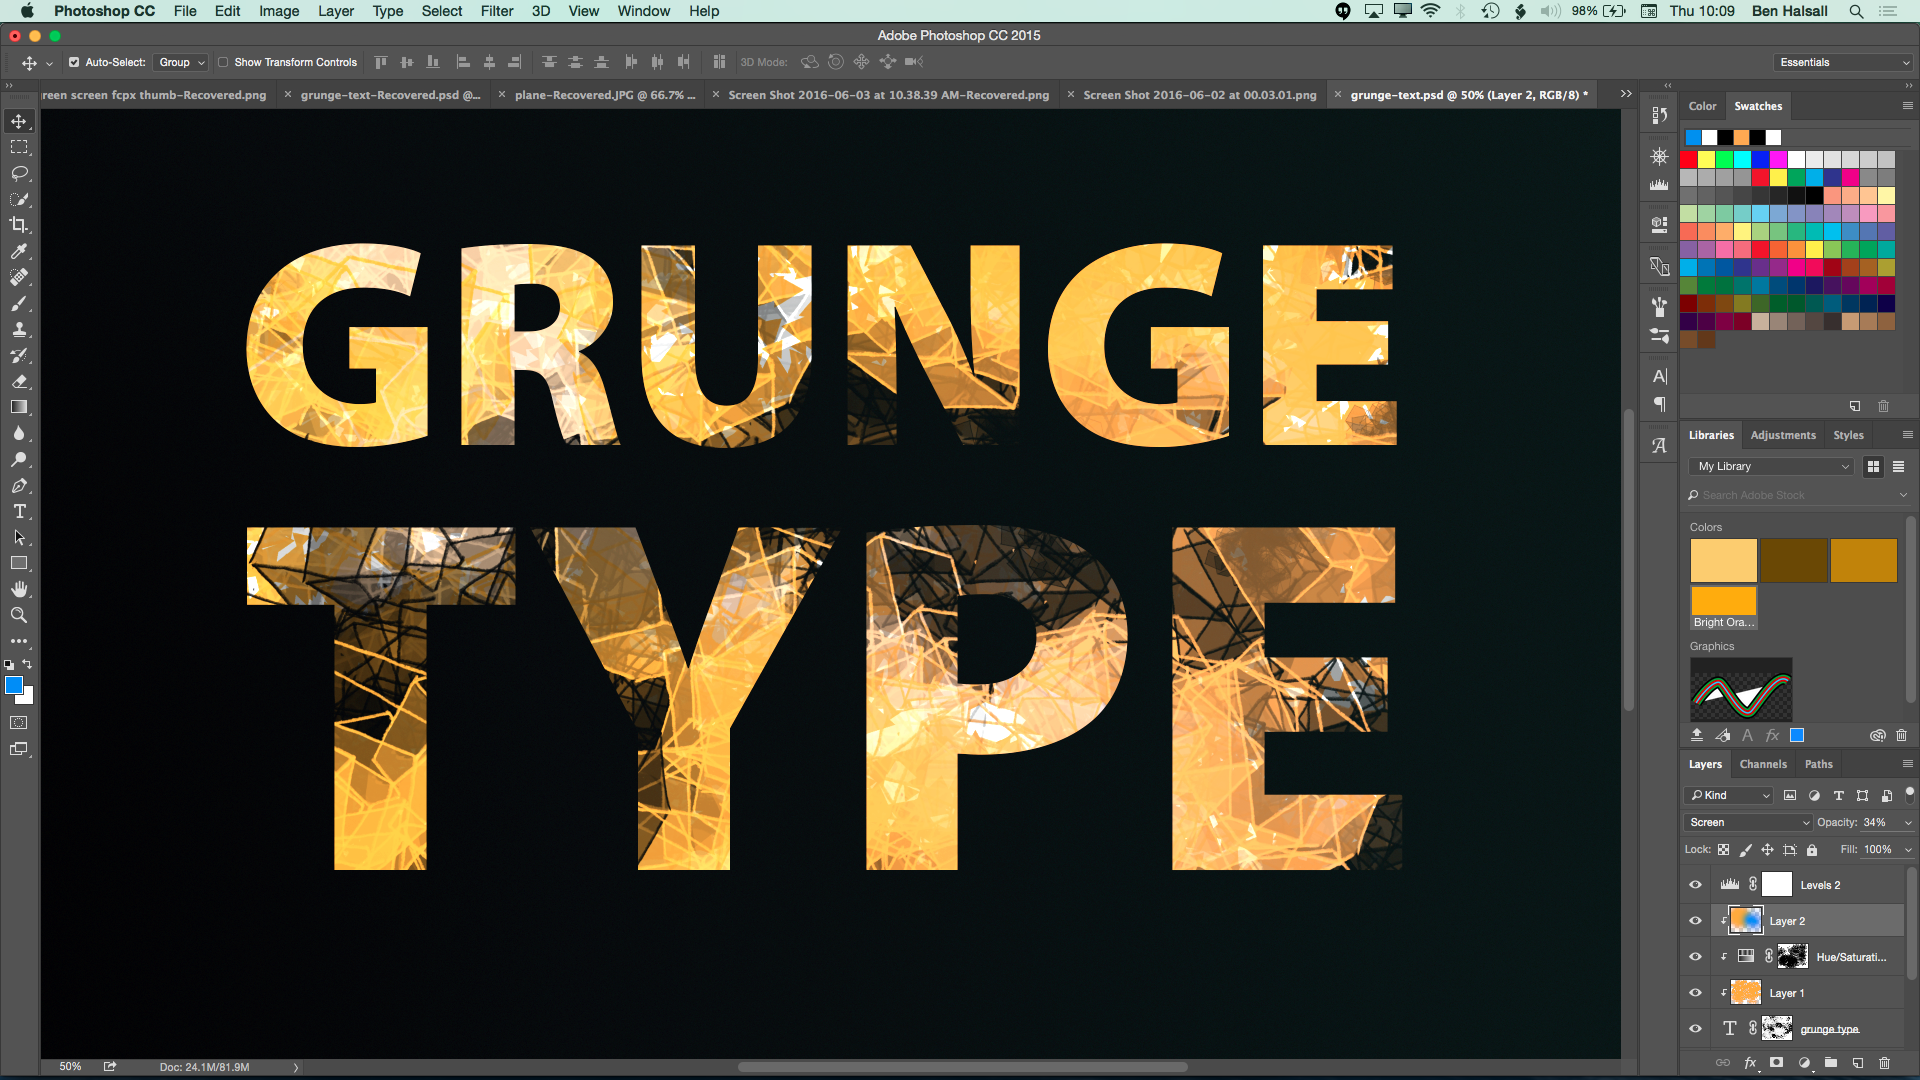
Photoshop: Grunge Text with Custom Brushes #freeclass @skillshare #yqr #adobephotoshop
[et_pb_section admin_label=”section”][et_pb_row admin_label=”row”][et_pb_column type=”2_3″][et_pb_text admin_label=”Text” background_layout=”light” text_orientation=”left” use_border_color=”off” border_color=”#ffffff” border_style=”solid”]
Learn how to use customised brushes to create grunge-style textured type. Lots of awesome Photoshop tips in this class!
25 free enrolments available
http://skl.sh/22WYG04
Check out the GIF for a preview.
[/et_pb_text][/et_pb_column][et_pb_column type=”1_3″][et_pb_text admin_label=”Text” background_layout=”light” text_orientation=”left” use_border_color=”off” border_color=”#ffffff” border_style=”solid”]
[/et_pb_text][/et_pb_column][/et_pb_row][/et_pb_section]
5 Steps to Colonising Mars in The Next 10 Years [art+research] via @YouTube
POV Morning River Surfing – Bate Island by Alex Copp [art+research]
[et_pb_section admin_label=”section”][et_pb_row admin_label=”row”][et_pb_column type=”2_3″][et_pb_text admin_label=”Text”]
[/et_pb_text][/et_pb_column][et_pb_column type=”1_3″][et_pb_text admin_label=”Text” background_layout=”light” text_orientation=”left” use_border_color=”off” border_color=”#ffffff” border_style=”solid”]
[/et_pb_text][/et_pb_column][/et_pb_row][/et_pb_section]
FREEZING – a cold water surf trip. by Two Eyes Film [art+research]
[vimeo 164412828 w=580 h=326]
“FREEZING – a cold water surf trip” from Two Eyes Film #surfmovie #funny #awesome #iceland #fullmovie
[et_pb_section admin_label=”section”][et_pb_row admin_label=”row”][et_pb_column type=”2_3″][et_pb_text admin_label=”Text” background_layout=”light” text_orientation=”left” use_border_color=”off” border_color=”#ffffff” border_style=”solid”]
This film embodies everything I love about surfing!
FREEZING – a cold water surf trip. from Two Eyes Film on Vimeo.
[/et_pb_text][/et_pb_column][et_pb_column type=”1_3″][et_pb_text admin_label=”Text” background_layout=”light” text_orientation=”left” use_border_color=”off” border_color=”#ffffff” border_style=”solid”]
[/et_pb_text][/et_pb_column][/et_pb_row][/et_pb_section]


